Our Featured Services
Radiography Testing (Gamma ray/Ir-192):
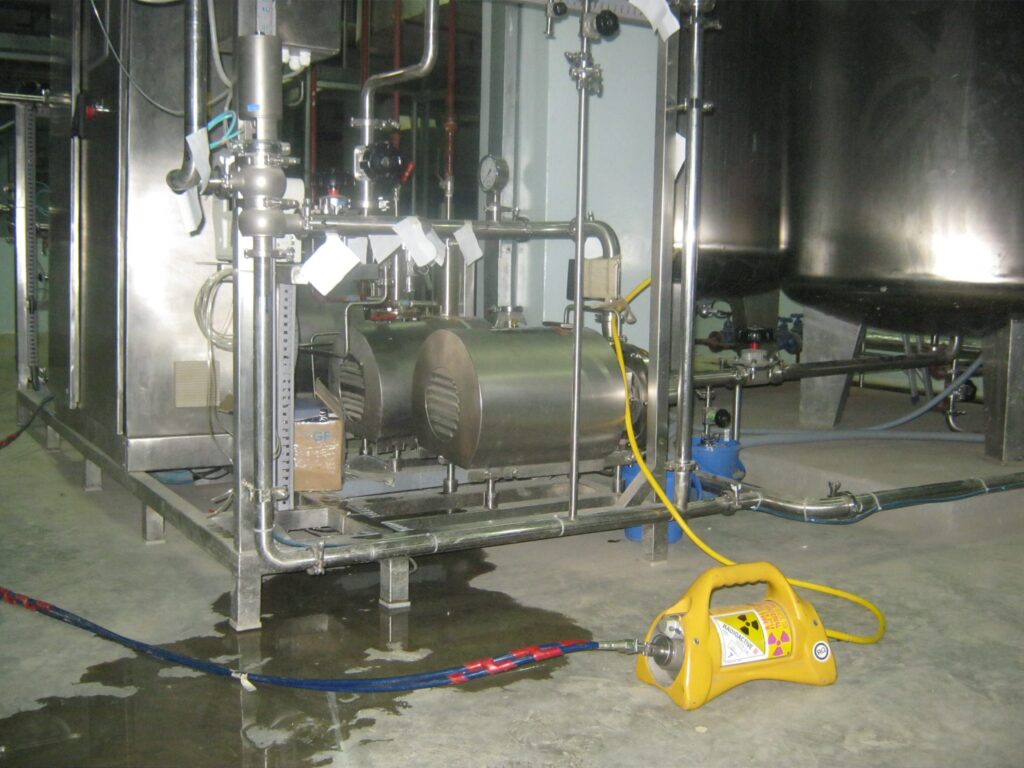
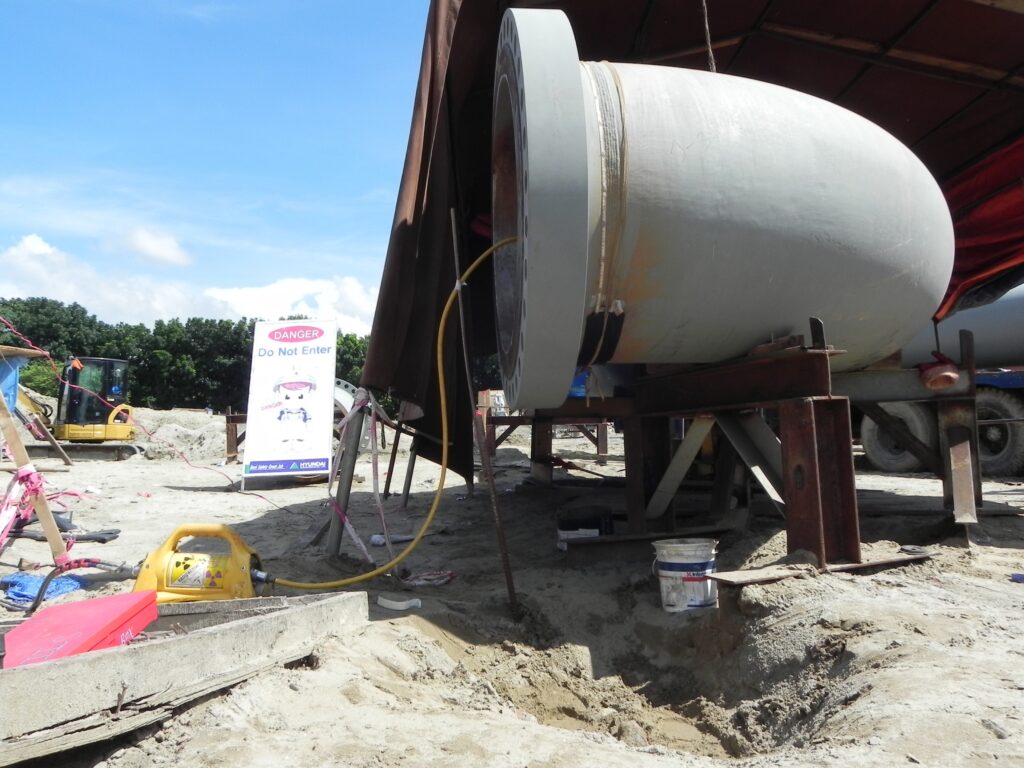
Radiographic Testing Gamma ray is a non-destructive testing (NDT) method that examines the volume of a specimen. Radiography gamma-rays to produce a radiograph of a specimen, showing any changes in thickness, defects (internal and external), and assembly details to ensure optimum quality in your operation. RT usually is suitable for testing welded joints that can be accessed from both sides, with the exception of double-wall signal image techniques used on some pipe. Although this is a slow and expensive NDT method, it is a dependable way to detect porosity, inclusions, cracks, and voids in weld interiors. RT makes use of gamma rays. gamma rays are produced by a radioactive isotope.
The radiographic film detects the radiation and measures the various quantities of radiation received over the entire surface of the film. This film is then processed under dark room conditions and the various degrees of radiation received by the film are imaged by the display of different degrees of black and white, this is termed the film density and is viewed on a special light emitting device. All discontinuities are detected by viewing the weld shape and variations in the density of the processed film. This permanent film record of weld quality is relatively easy to interpret if personnel are properly trained. Only qualified personnel should conduct radiography and radiographic interpretation because false readings can be expensive and can interfere seriously with productivity, and because invisible gamma radiation can be hazardous.
Radiography Testing (Pipeline X-ray & X-ray Crawler):
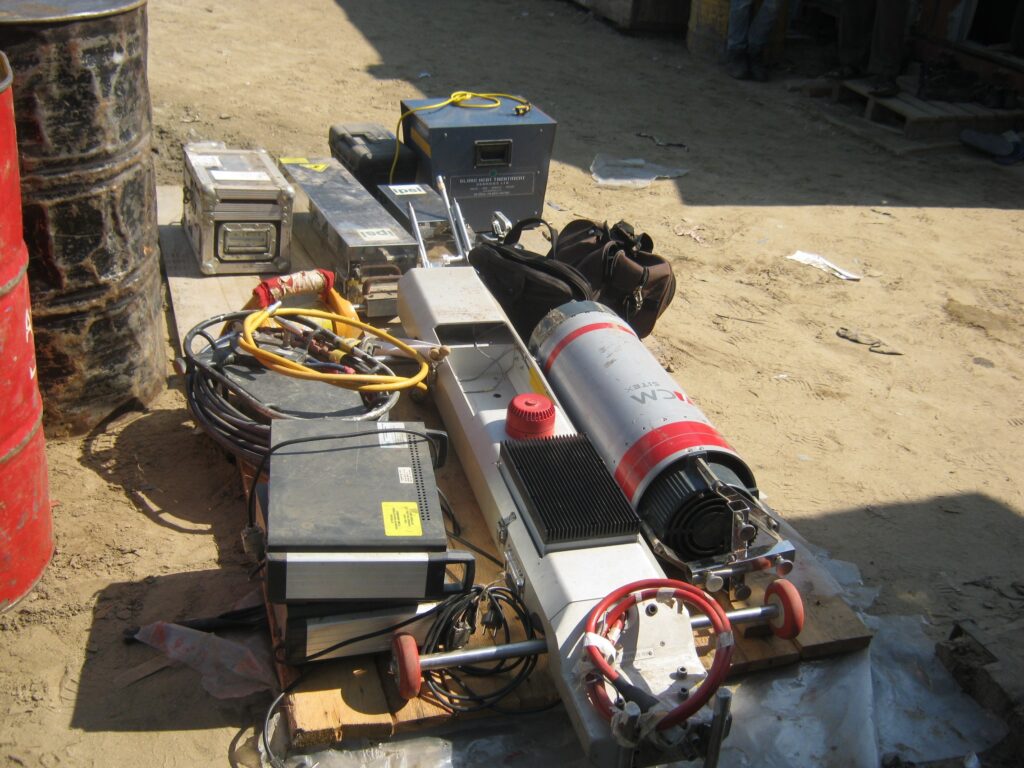
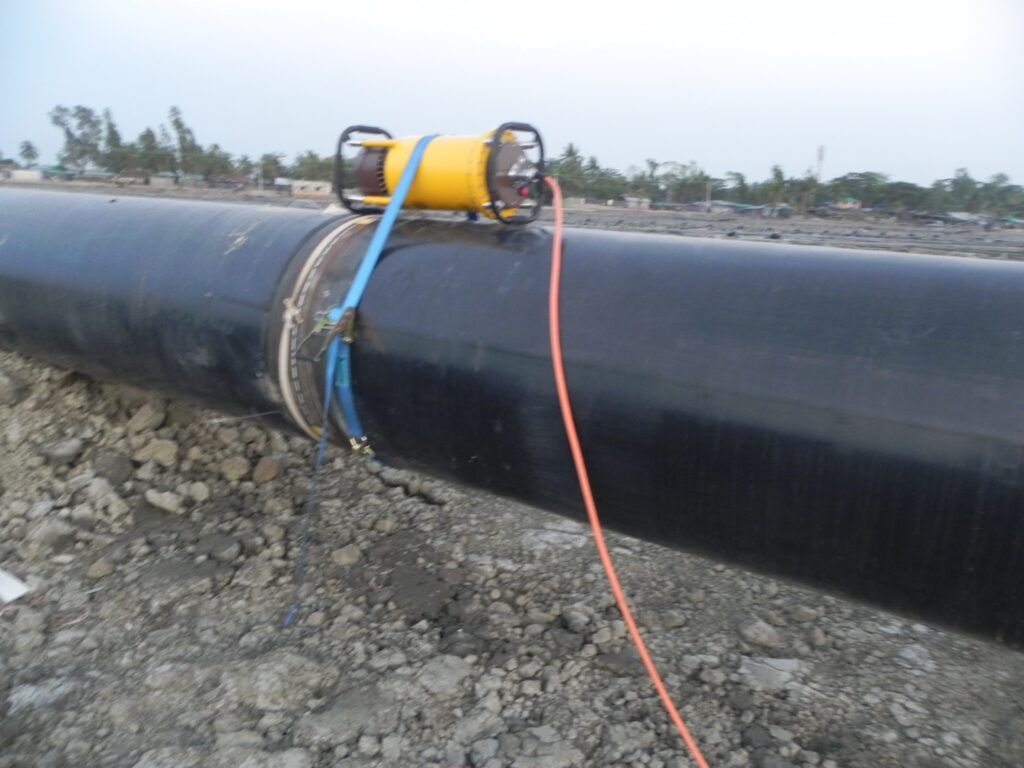
Radiographic Testing X-ray is a non-destructive testing (NDT) method that examines the volume of a specimen. Radiography X-ray uses X-rays to produce a radiograph of a specimen, showing any changes in thickness, defects (internal and external), and assembly details to ensure optimum quality in your operation.
RT usually is suitable for testing welded joints that can be accessed from both sides, with the exception of double-wall signal image techniques used on some pipe. Although this is a slow and expensive NDT method, it is a dependable way to detect porosity, inclusions, cracks, and voids in weld interiors.
RT makes use of X-rays. X-rays are produced by an X-ray tube, are produced by a radioactive isotope.
All discontinuities are detected by viewing the weld shape and variations in the density of the processed film. This permanent film record of weld quality is relatively easy to interpret if personnel are properly trained. Only qualified personnel should conduct radiography and radiographic interpretation because false readings can be expensive and can interfere seriously with productivity, and because invisible X-ray radiation can be hazardous.
Ultrasonic Testing:
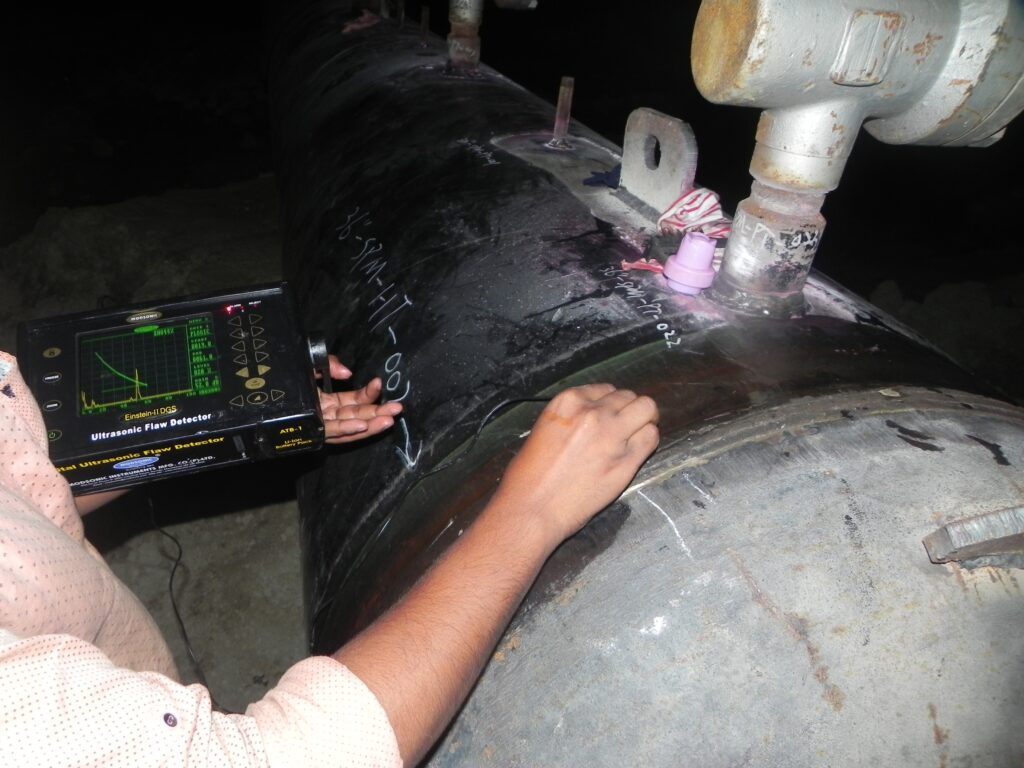
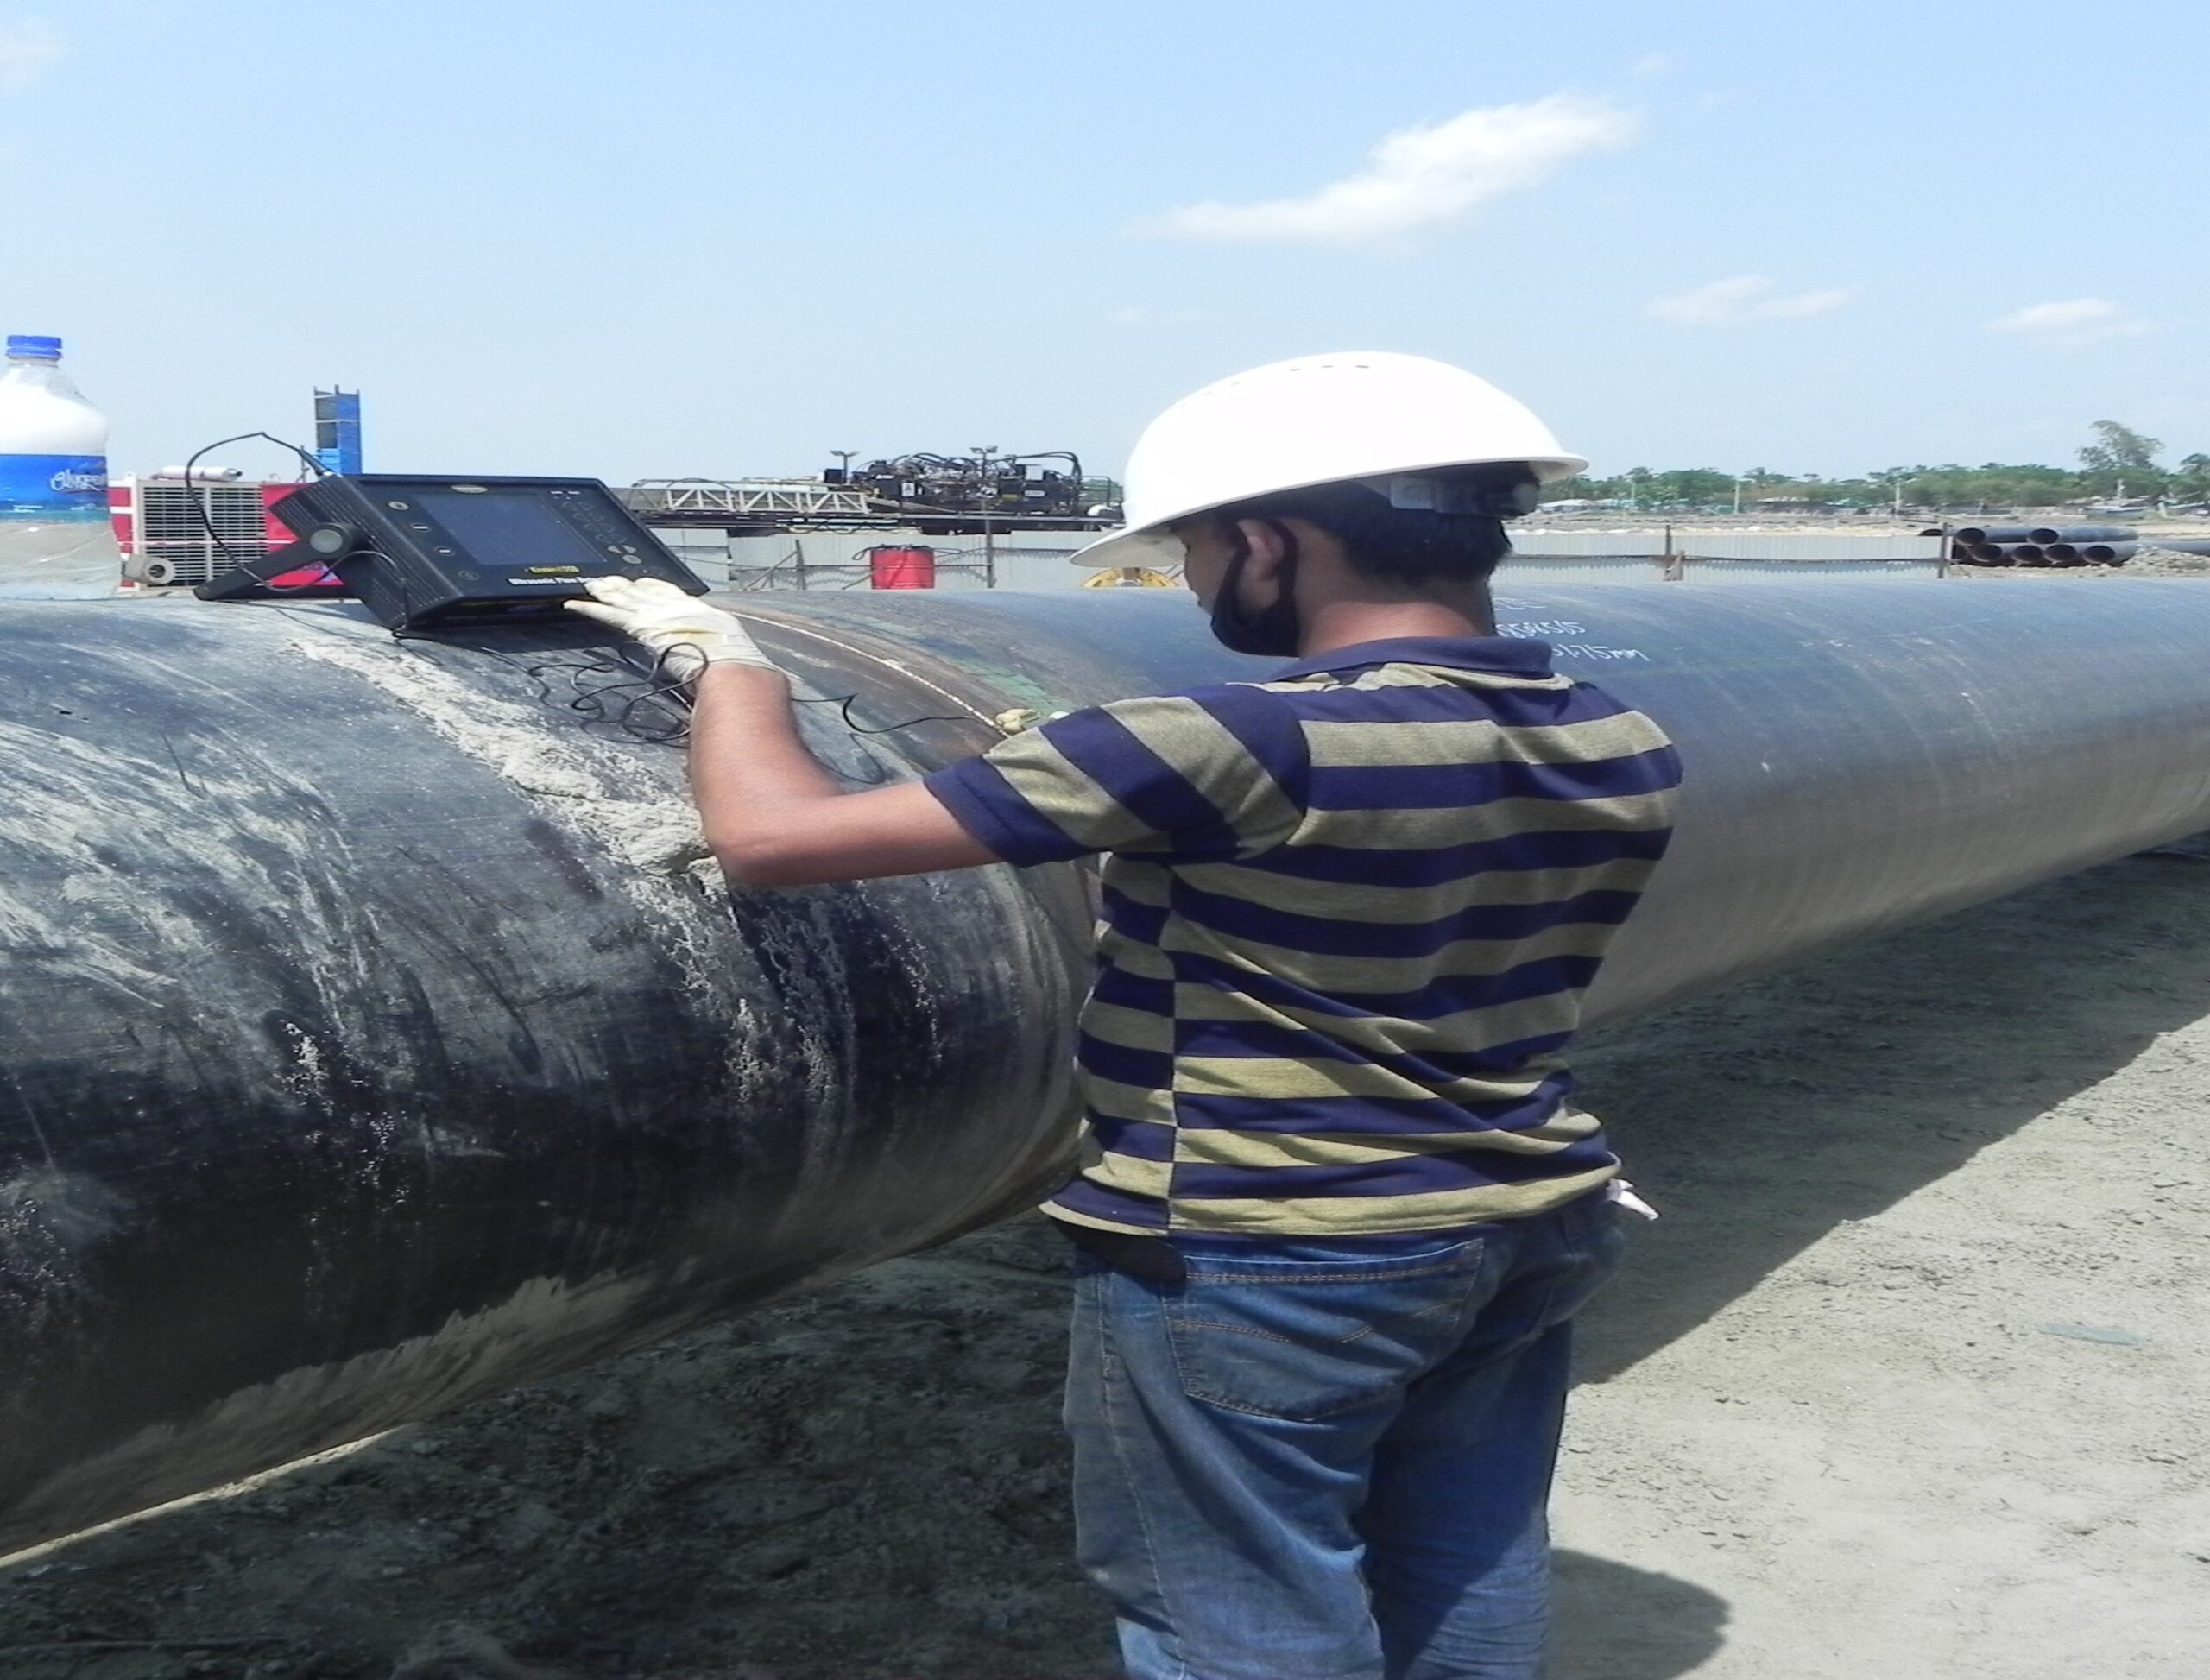
Ultrasonic Testing is a volumetric Non-Destructive Testing (NDT) method. Unlike surface inspection methods, UT makes it possible to find flaws inside the material. High-frequency sound waves are sent into the material with an ultrasonic transducer. The ultrasound that reflects off defects in the material is made visible in a graph. Ultrasonic Testing gives insight in the depth, size, nature and orientation of the detected indications. The thickness of the material, such as wall thickness of pipes, can also be measured. Xpert NDT has decades of experience in applying UT inspections across all industrial sectors.
Advantages of Ultrasonic Testing:
- High penetrating power
- High sensitivity
- Usually only one surface needs to be accessible
- Insight in size, orientation, shape and nature of defects
- Non-hazardous to operations or nearby personnel
- Portable equipment
- Can be used in automated setup
- Immediate test results
Limitations of Ultrasonic Testing:
- Surface must be accessible to transmit ultrasound
- Usually a couplant (gel or oil) is needed to enable interference-free transfer of the ultrasound
- Objects that have a rough surface or are very small, thin or not homogenous are difficult to inspect
- Cast iron and other coarse grained materials are difficult to inspect due to low sound transmission and high signal noise
- Linear flaws oriented parallel to the direction of the sound beam may go undetected
• Reference standards are required for equipment calibration and for the characterization of flaws
Magnetic Particle Test (MPT/MT):
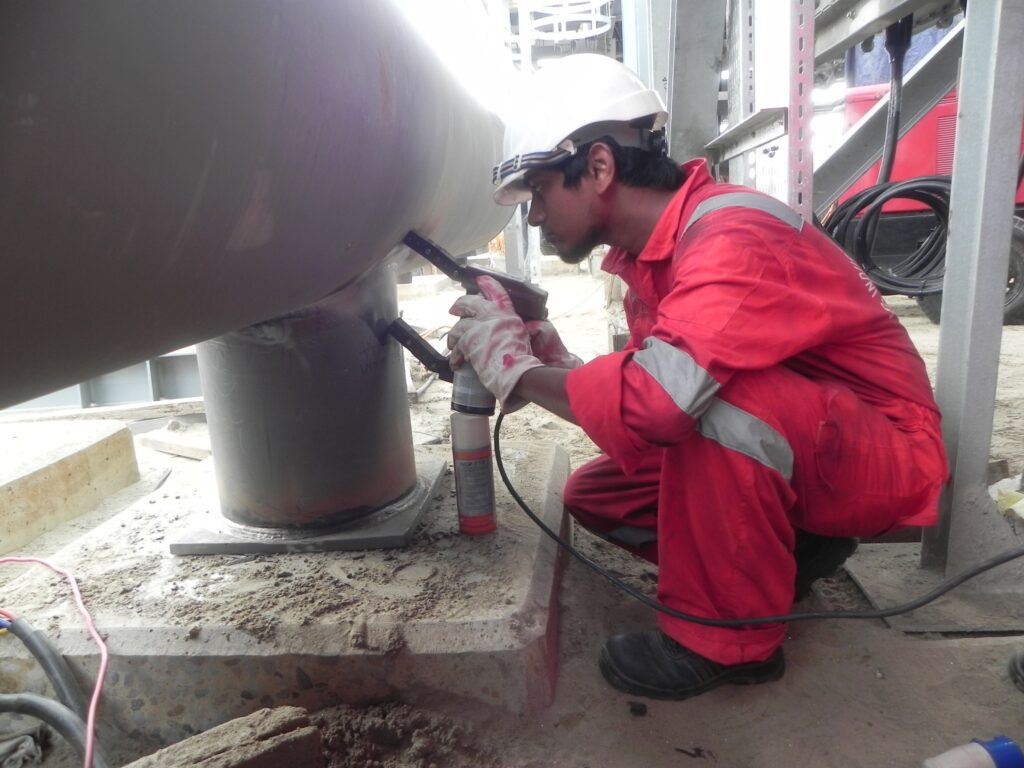
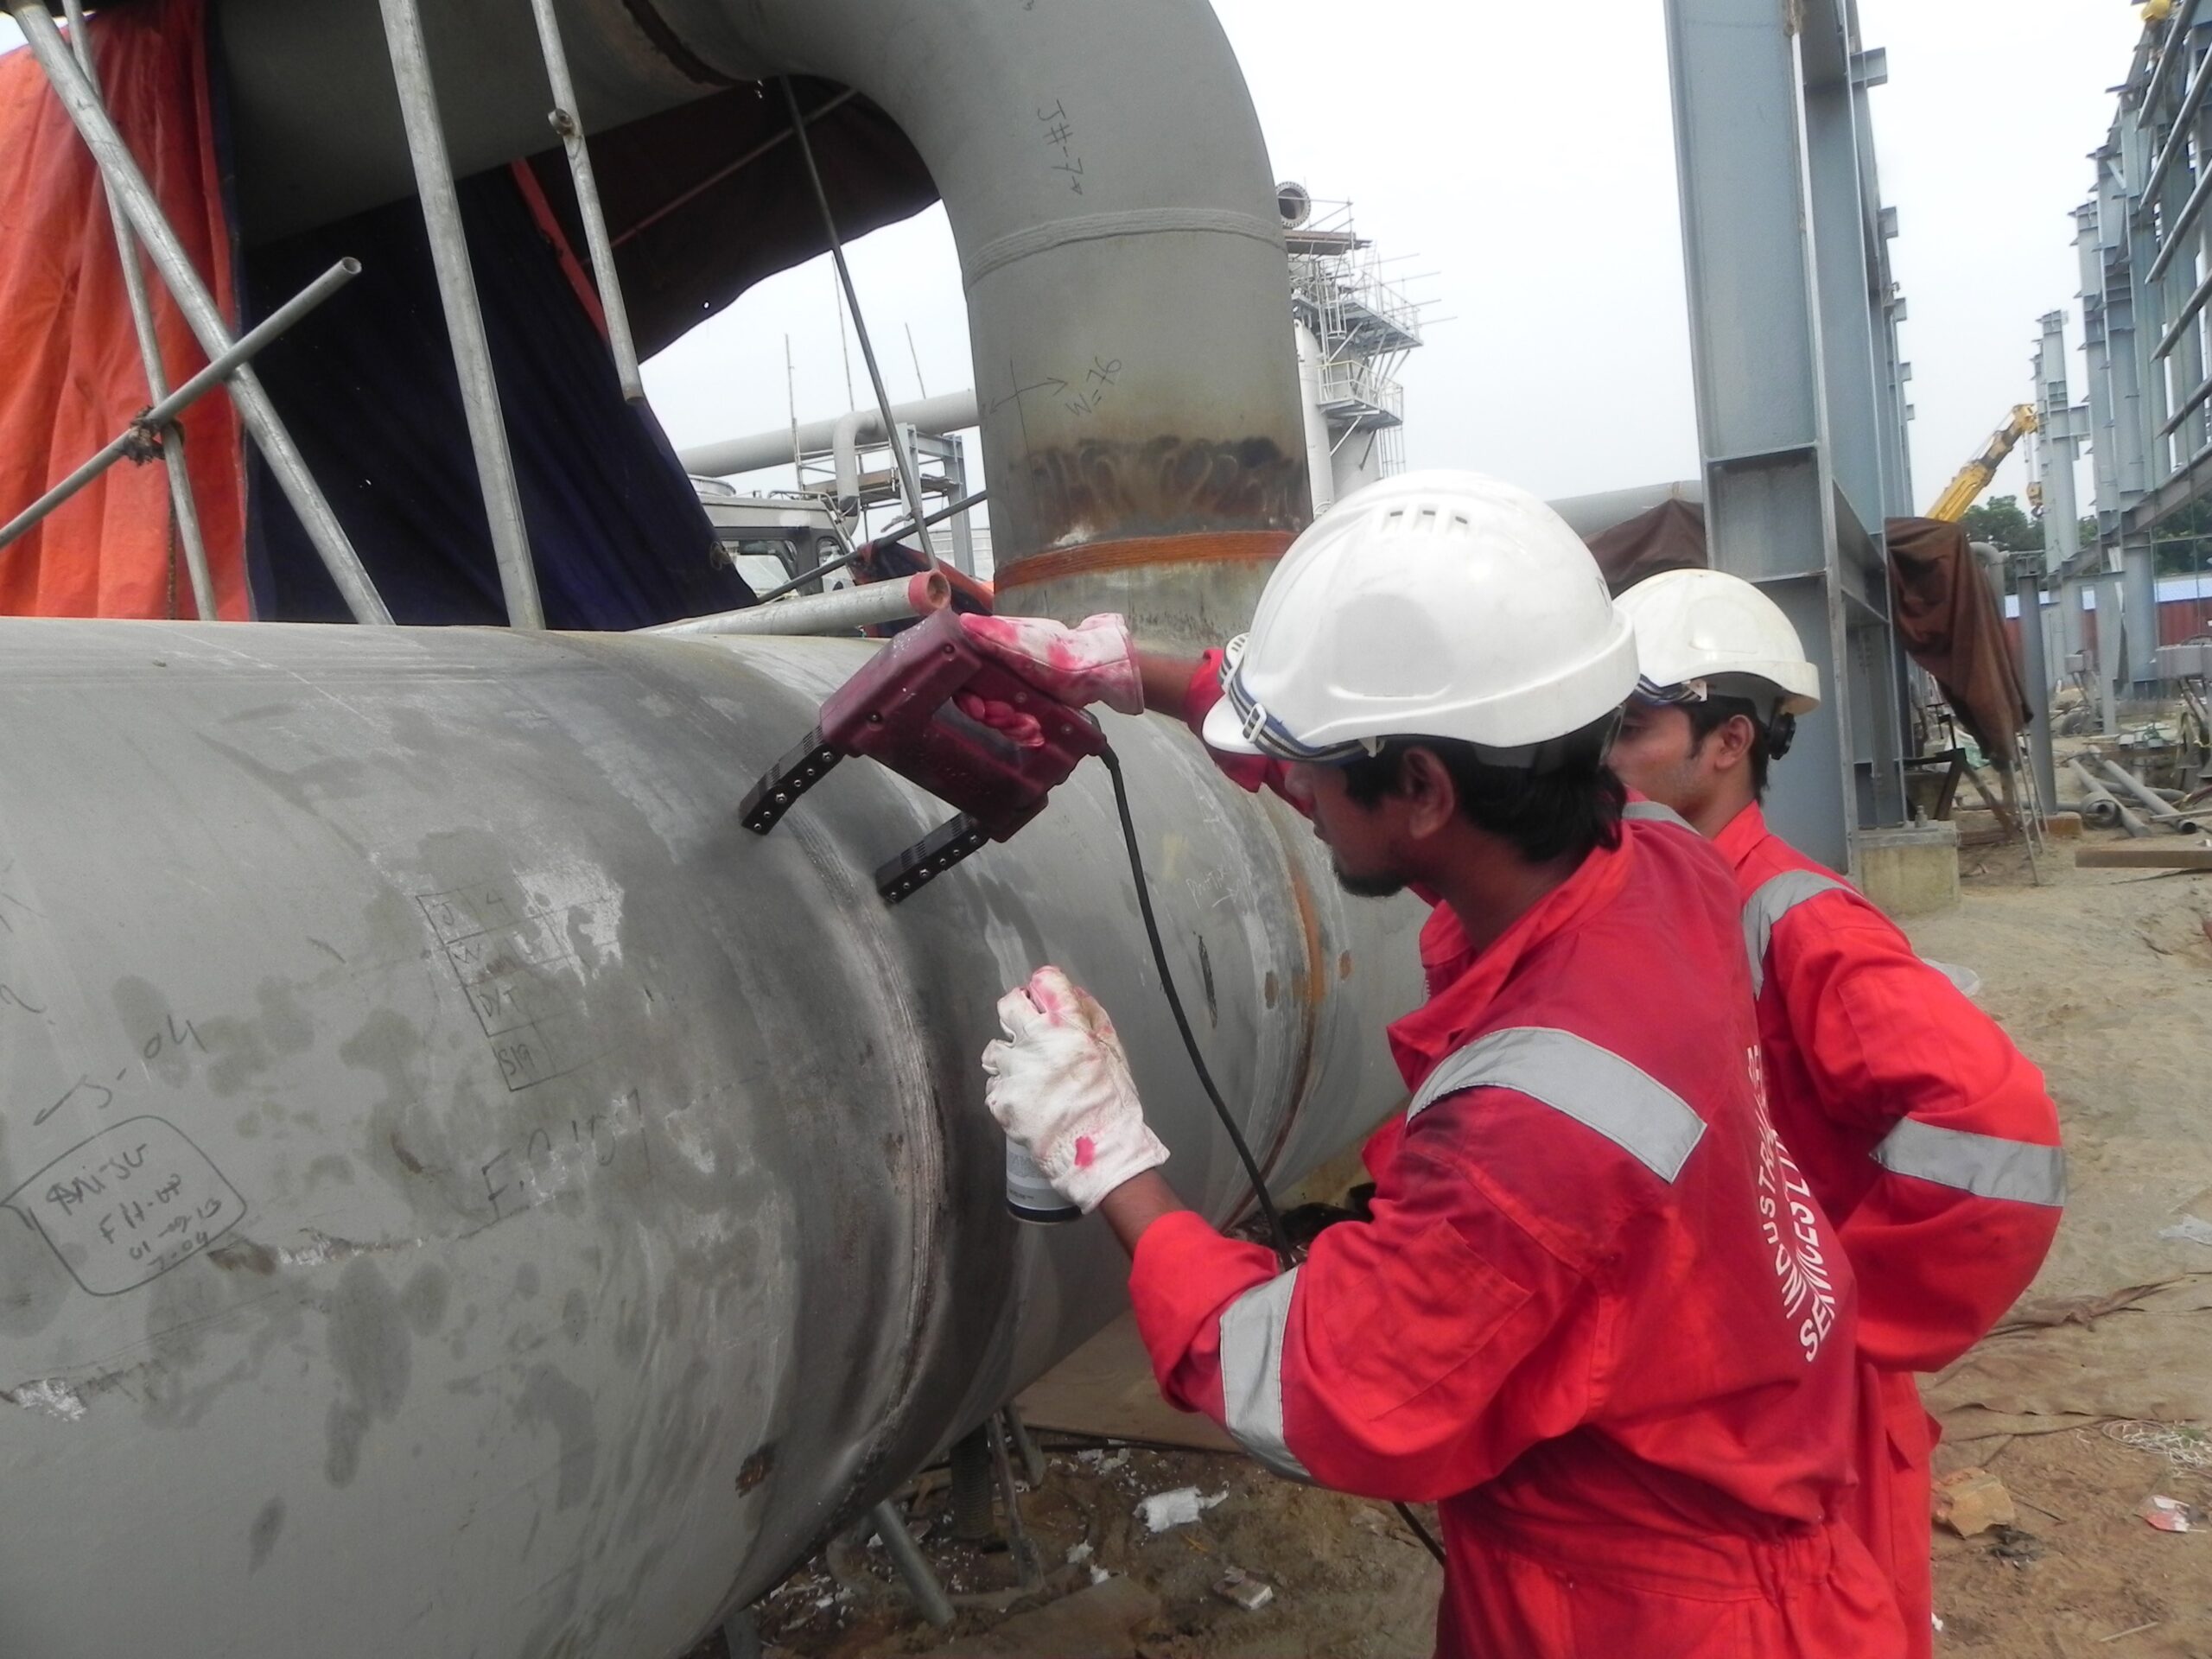
Magnetic particle test (MT) is very sensitive test method. It can detect tight in-service fatigue cracks in rotating parts or creep cracks on steam piping. Magnetic Particle Inspection cannot be used for non-ferrous materials and non-magnetic ferrous materials such as austenitic stainless steels.
Magnetic Particle Inspection (MPI) also sometimes called as Magnetic Test (MT) is a non-destructive test method for the detection of surface and sub-surface discontinuities in ferrous materials. The test method involves application of magnetic field externally or applying electric current through the material which in turn produces magnetic flux in the material. Simultaneously, visible ferrous particles on sprinkled or sprayed on the test surface. The presence of a surface or near surface discontinuities in the material causes distortion in the magnetic flux which in turn causes leakage of the magnetic fields at the discontinuity. The magnetic particles are attracted by the surface field in the area of the discontinuity and adhere to the edges of the discontinuity appearing the shape of the discontinuity.
Dye Penetrant Testing (DPT/PT):
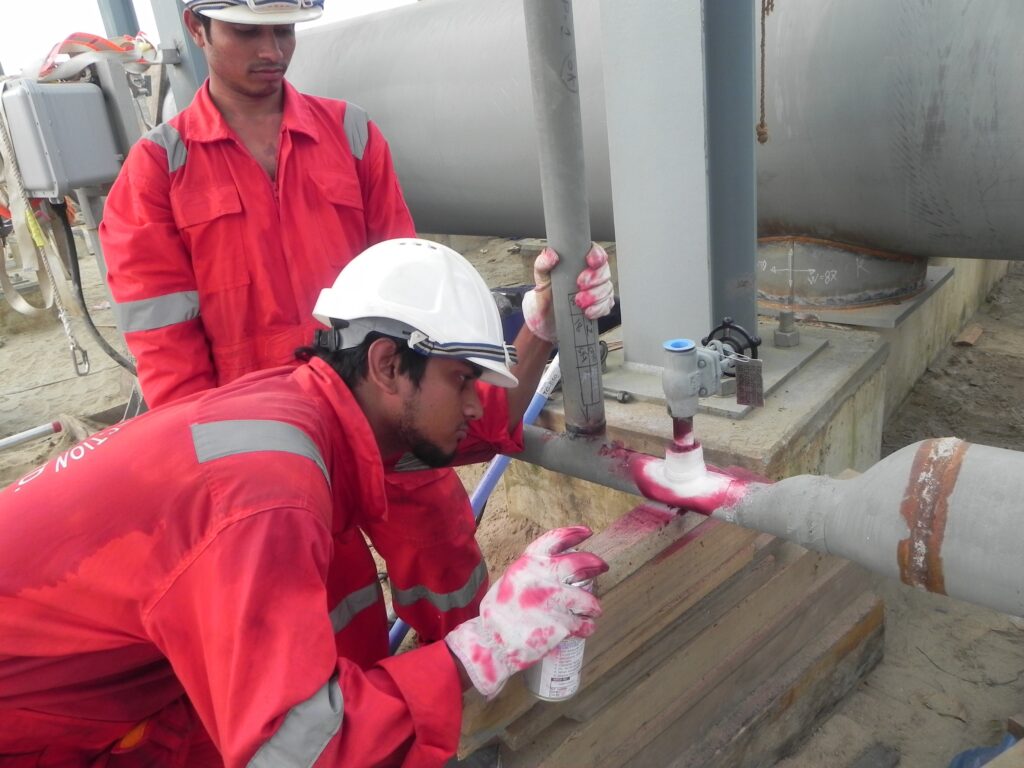
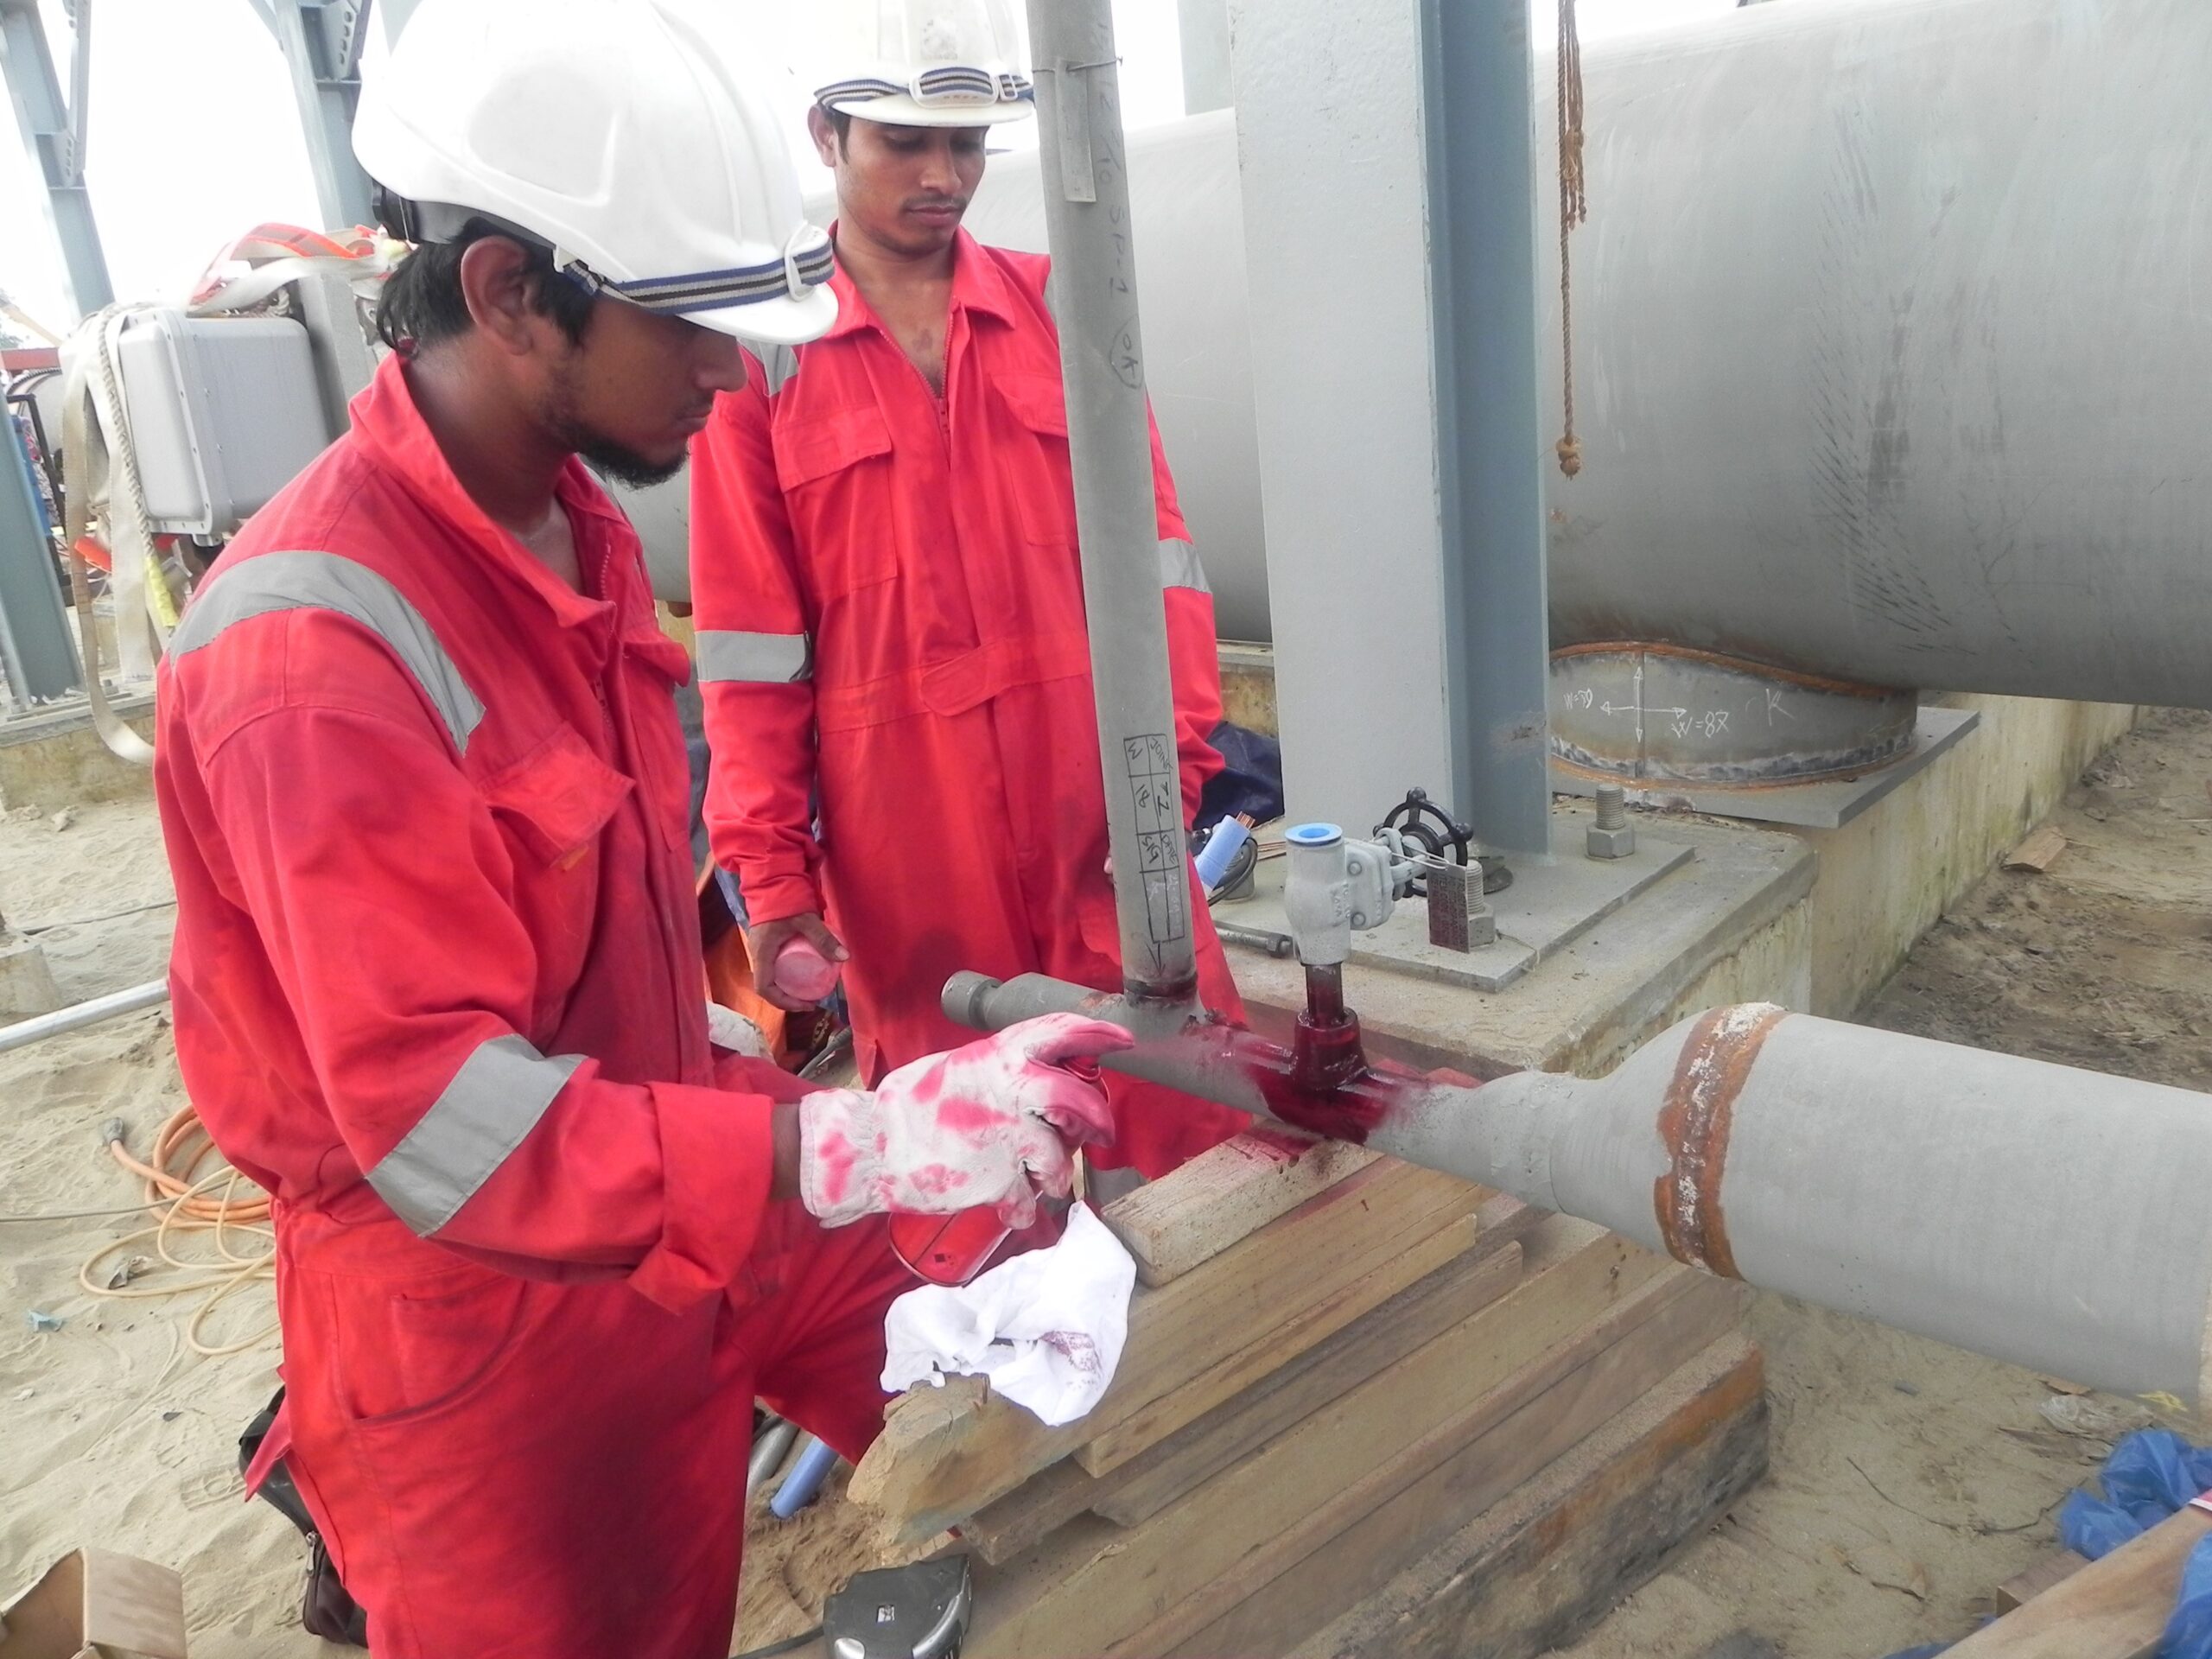
Dye Penetrant Testing (PT) is used to find surface breaking defects. PT inspection is suitable for a wide variety of materials, but it is mainly used on non-ferrous metals. This method makes use of the capillary action principle. A liquid dye with low viscosity is applied to the test piece. Due to its low viscosity, it gets sucked into surface-breaking discontinuities. After allowing adequate penetration time, the excess penetrant liquid is rinsed off. After drying, a chalk-like developer is applied. The developer draws the penetrant dye from defects making a visible indication that can be interpreted by the inspector.
PT advantages:
- High sensitivity to small surface discontinuities
- Suitable for large range of materials: metallic and non-metallic, magnetic and non-magnetic, and conductive and non-conductive
- Large surface areas and large volumes parts can be inspected rapidly and at low cost
- Parts with complex geometry can be tested without changing the inspection procedure
- Indications are produced directly on the surface of the part
- Aerosol spray cans make penetrant materials very portable
- Required materials and equipment are relatively inexpensive
PT limitations:
- Only surface breaking defects can be detected
- Only materials with relatively nonporous surface can be inspected
- Precleaning is critical
- Metal smearing from machining, grinding, and grit or vapor blasting must be removed prior to inspection.
- Surface finish and roughness can affect inspection sensitivity
- Multiple process operations must be performed with waiting intervals
- Post cleaning of acceptable parts or materials is required
- Handling and proper disposal of chemicals is required
Hardness Testing:
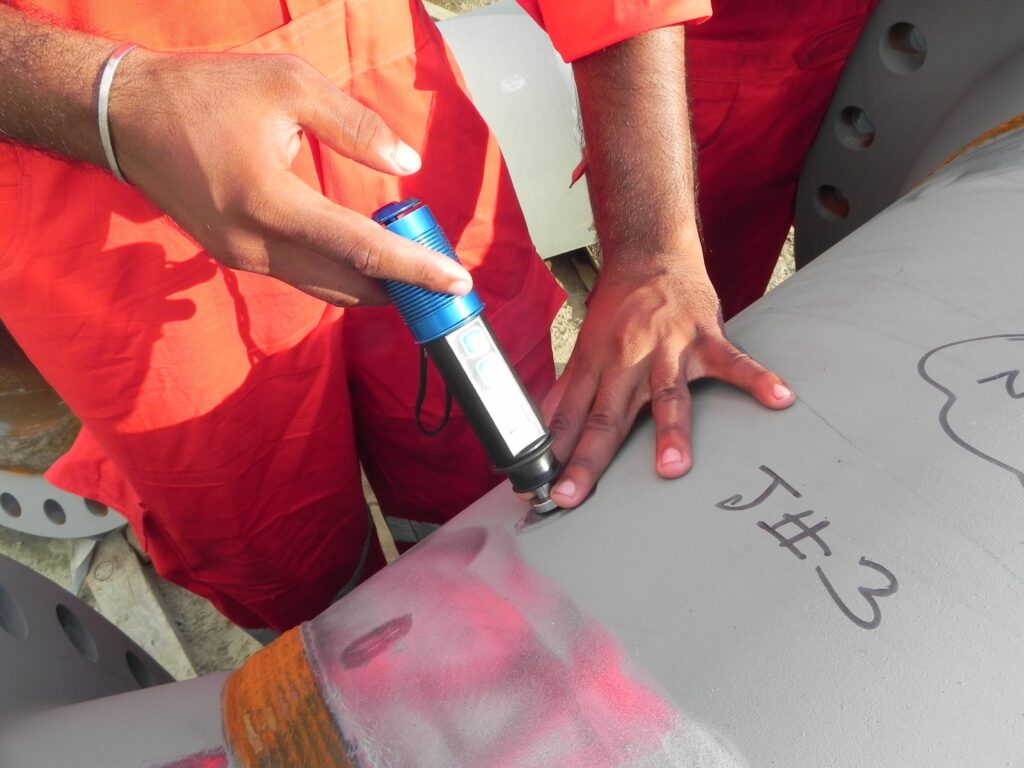
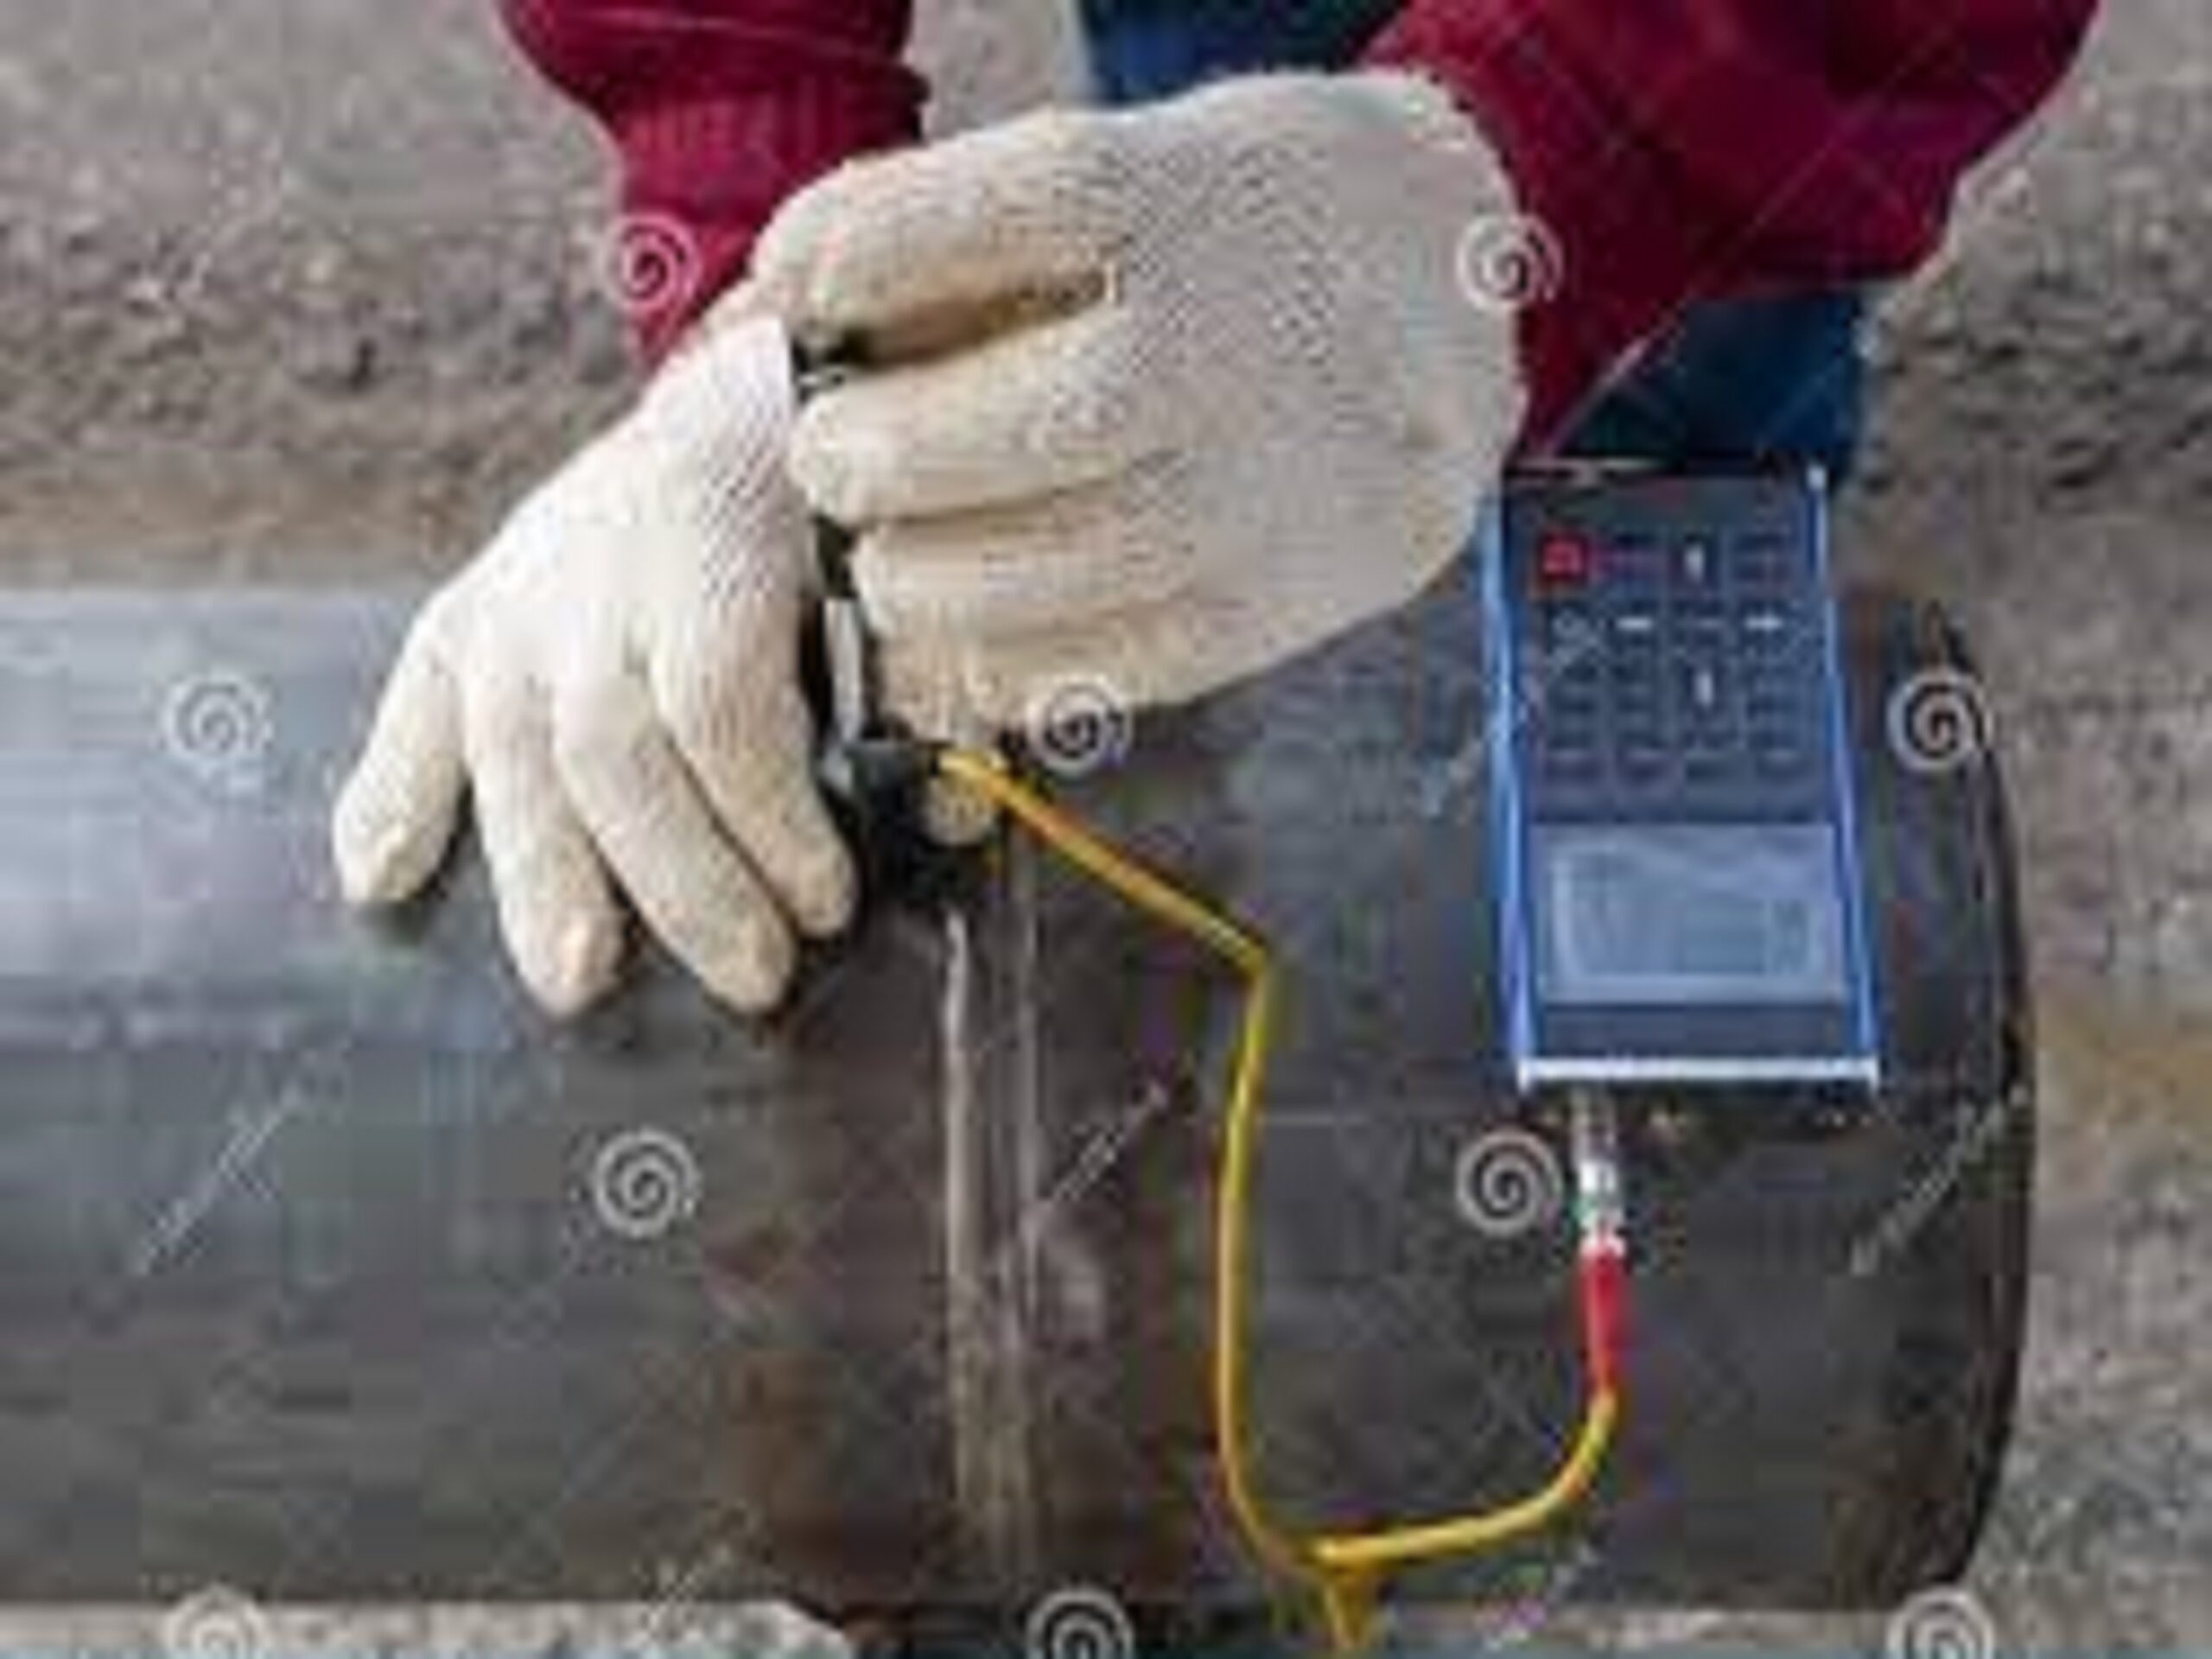
This method is used to measure the hardness of base materials, welds, or heat affected zones around welds. Hardness measurements are useful to evaluate material properties such as strength, ductility and wear resistance. Hardness is also an indicator of the effectiveness of material heat treatment and workability. When performing a hardness test, an indenter is pressed into the surface of the material or weld being tested with a certain force. The shape, size and load of the indenter is specific to the hardness test method being employed. The relative hardness is determined by measuring either the depth or the size of the impression left by the indenter. Typical hardness test methods are Rockwell (HRB or HRC), Vickers (HV), and Brinell (HB), among others.
Hardness testing is a relatively simple and inexpensive nondestructive test that can be performed on the exterior surface of materials or welds. Although hardness testing cannot usually find defects, it can show that material or welds have not become overly brittle during welding or heat treatment. Please see the attached conversion chart for various hardness measurement types and typical material tensile strength values that you can print out and hang on your wall as needed. Please don’t hesitate to reach out if you would like a pdf version emailed to you.
Post Weld Heat Treatment (PWHT):
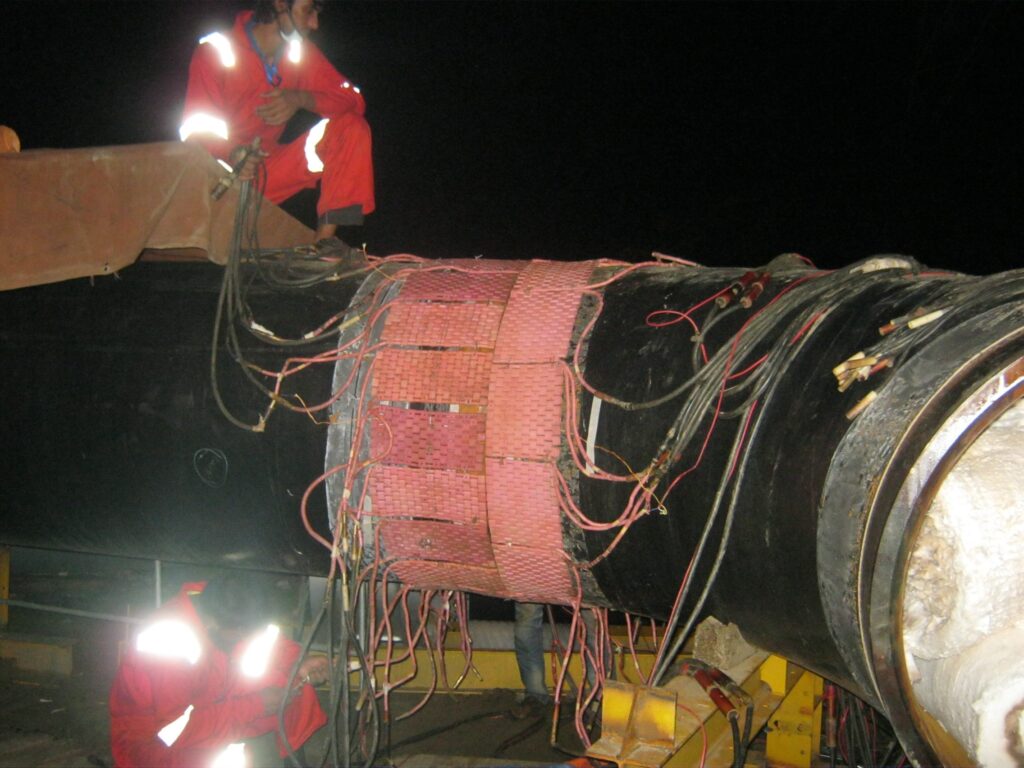
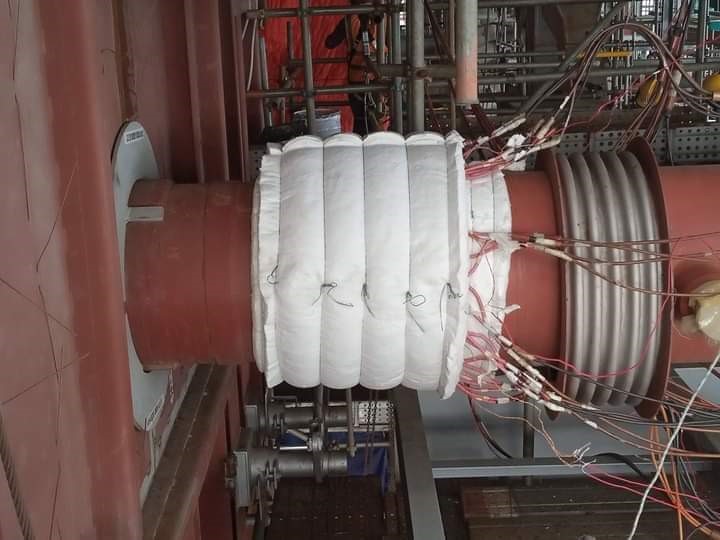
Xpert NDT offers post weld heat treatment (PWHT) to improve weld microstructure and reduce residual stresses developed during welding. Xpert NDT specializes in performing PWHT for the steel and metal fabrication industries including the construction of pressure vessels, pressure piping, storage tanks, buildings, bridges, offshore platforms, power plants, oil and gas refineries, and petrochemical plants. There is often a mandatory requirement for PWHT due to compliance with welding codes and specifications on certain materials including but not limited to carbon steels, stainless/high alloy steels and work hardened steels. There may also be PWHT requirements based on the wall thickness of the parts being welded together.
**PWHT reduces or redistributes the residual stress introduced by the welding process with a technique that involves heating, soaking and cooling the weldment/machined surface to controlled temperatures. This improves the properties of the weldment/machined surface. Other benefits of PWHT include:
- Improved ductility of the material
- Improved or reduced hardness
- Reduced risk of brittle fracture
- Relaxed thermal stress
- Tempered metal
- Removal of diffusible hydrogen (to prevent hydrogen induced cracking)
- Improved metallurgical structure
Xpert NDT can perform PWHT at both our own premises and at our customers’ sites. Our onsite facilities include large furnaces where we can place numerous weldments/machined surfaces for PWHT. In addition, we provide a pick-up and delivery service. Xpert NDT can carry out PWHT at our customers’ sites at any offshore and onshore location utilizing our portable equipment. Our team of highly skilled and trained PWHT technicians ensures that all weldments/machined surfaces brought in for treatment will meet the specified welding code requirements and be fit for purpose.
Phased Array Ultrasonic Testing (PAUT):
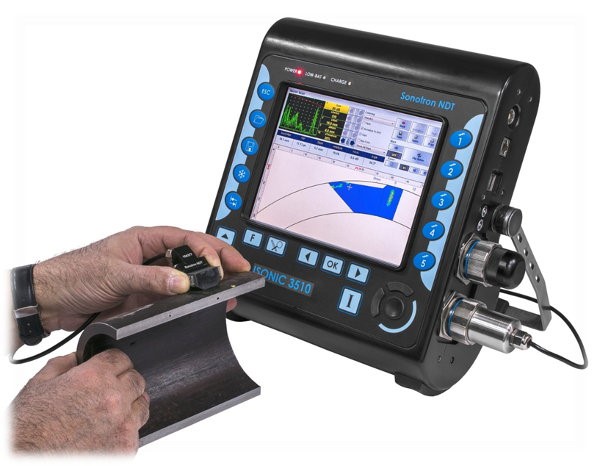
Phased Array Ultrasonic Testing (PAUT) is an advanced nondestructive examination technique that utilizes a set of ultrasonic testing (UT) probes made up of numerous small elements, each of which is pulsed individually with computer-calculated timing (“phasing”). When these elements are excited using different time delays, the beams can be steered at different angles, focused at different depths, or multiplexed over the length of a long array, creating the electronic movement of the beam. Phased array probes can be used manually in a free running mode scrubbing the surface of a component, attached to an encoder to record position, or mounted on a semi-automated or motorized scanner for optimum productivity. Using phased array probes in direct contact with the component, whether mounted on a hard wedge, a water delay line, or even inside a wheel probe, gives inspectors the ability to quickly scan large areas for corrosion, cracking, and other defects with high resolution. PAUT can be used to inspect almost any material where traditional UT methods have been utilized and is often used for weld inspections and crack detection.
Holiday Testing:
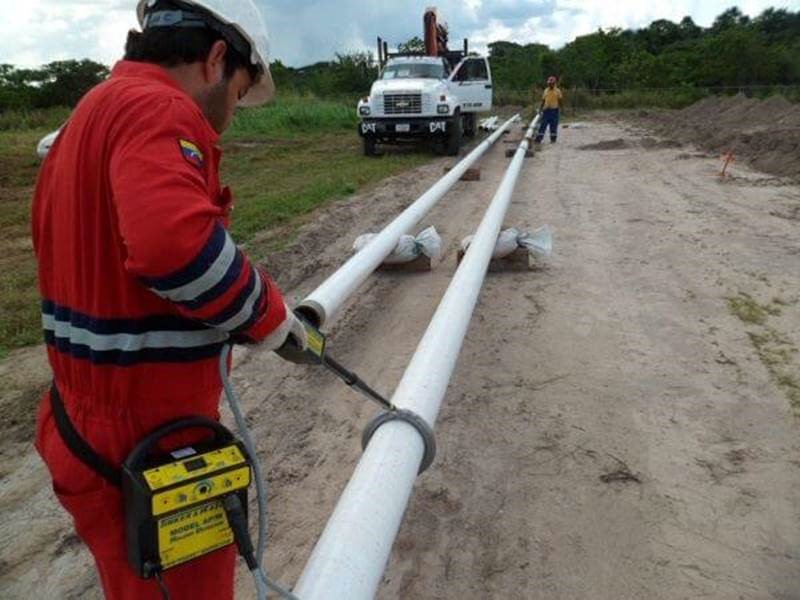
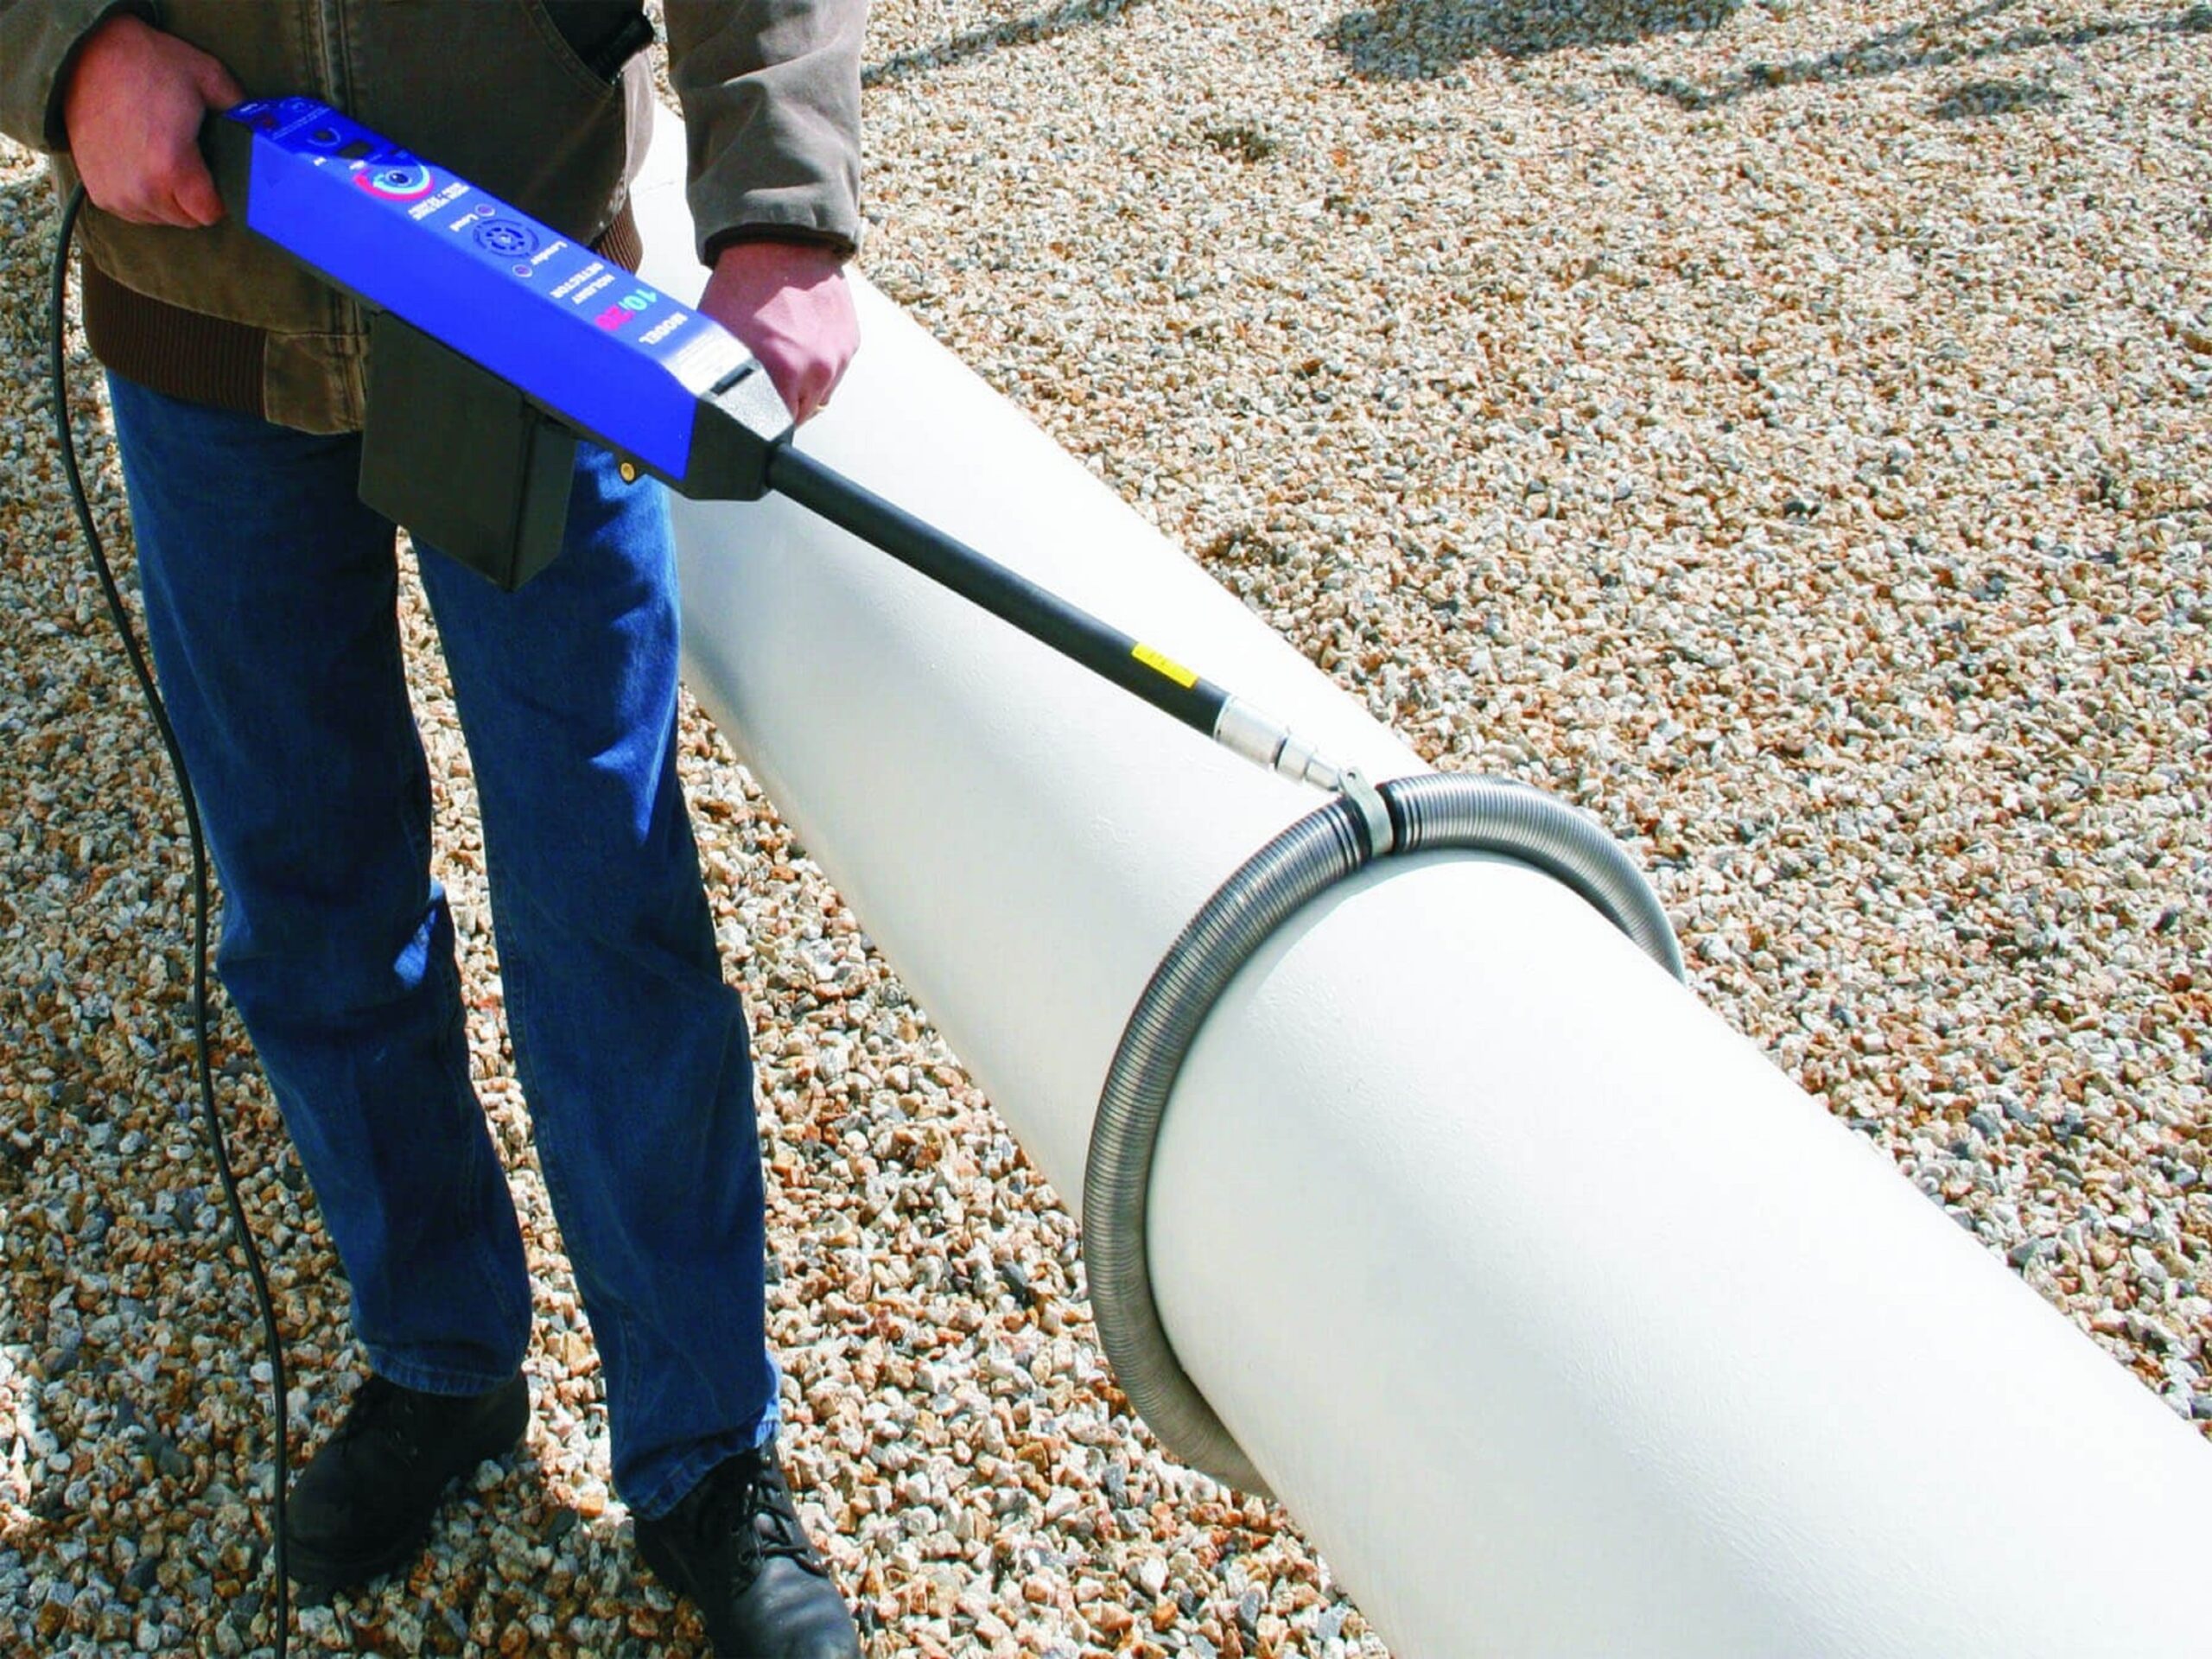
A holiday test is an inspection method used to detect discontinuities in painted/coated surfaces using specialized tools and equipment. These tools, called holiday detectors, are portable devices that are swept across the coated surface. Holidays tests work on the concept of electrical conductivity. Metal substrates are excellent conductors of electricity, and therefore allow current to flow through them. On the other hand, many coatings are poor conductors of electricity and resist the flow of electricity. Using this principle, holiday tests use instruments to locate flaws in anticorrosive paints and coatings.
During holiday testing, a ground wire and probing electrode are attached to the same power source. The ground wire is clamped to the specimen being tested while the probe is swept across the surface of the metal substrate. If the probe comes into contact with a coating discontinuity, the exposed metal completes the electrical circuit between the electrode and the grounding wire, resulting in a flow of electricity. This electricity shows up on an indicator, alerting the equipment operator of the defect. While holiday tests are effective, they do possess limitations. Because these tests depend on the coating being non-conductive, they are not effective on conductive metallic coatings, such as zinc-rich primers.
A holiday test is also known as a continuity test.
Positive Material Identification (PMI)Testing:
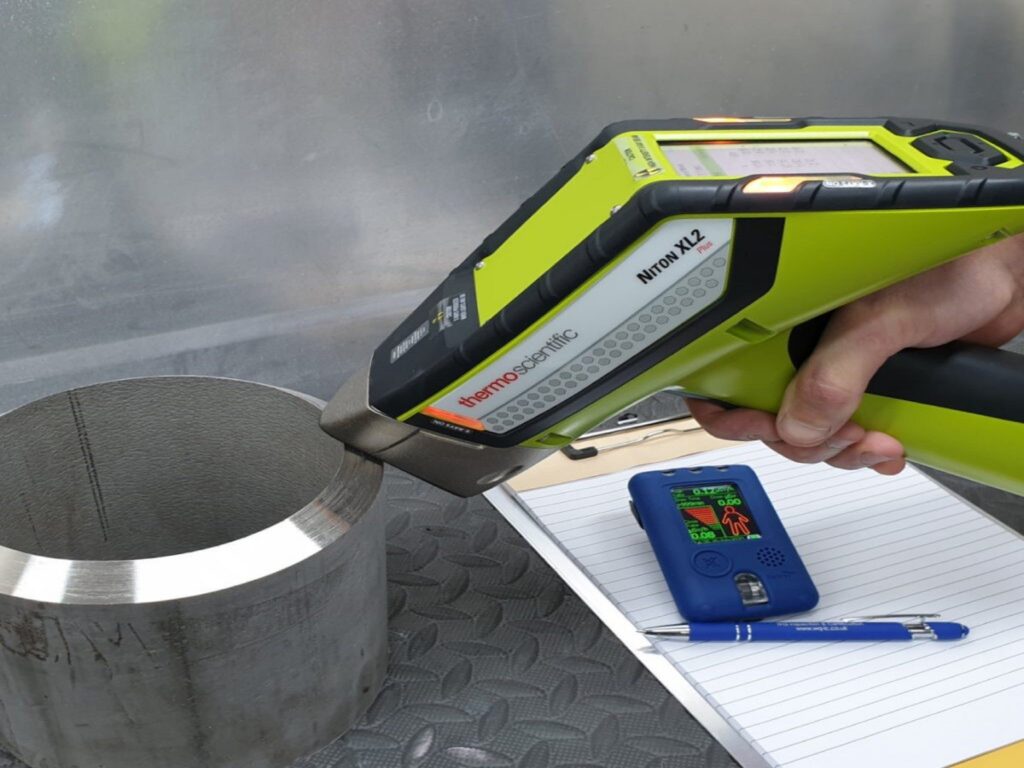
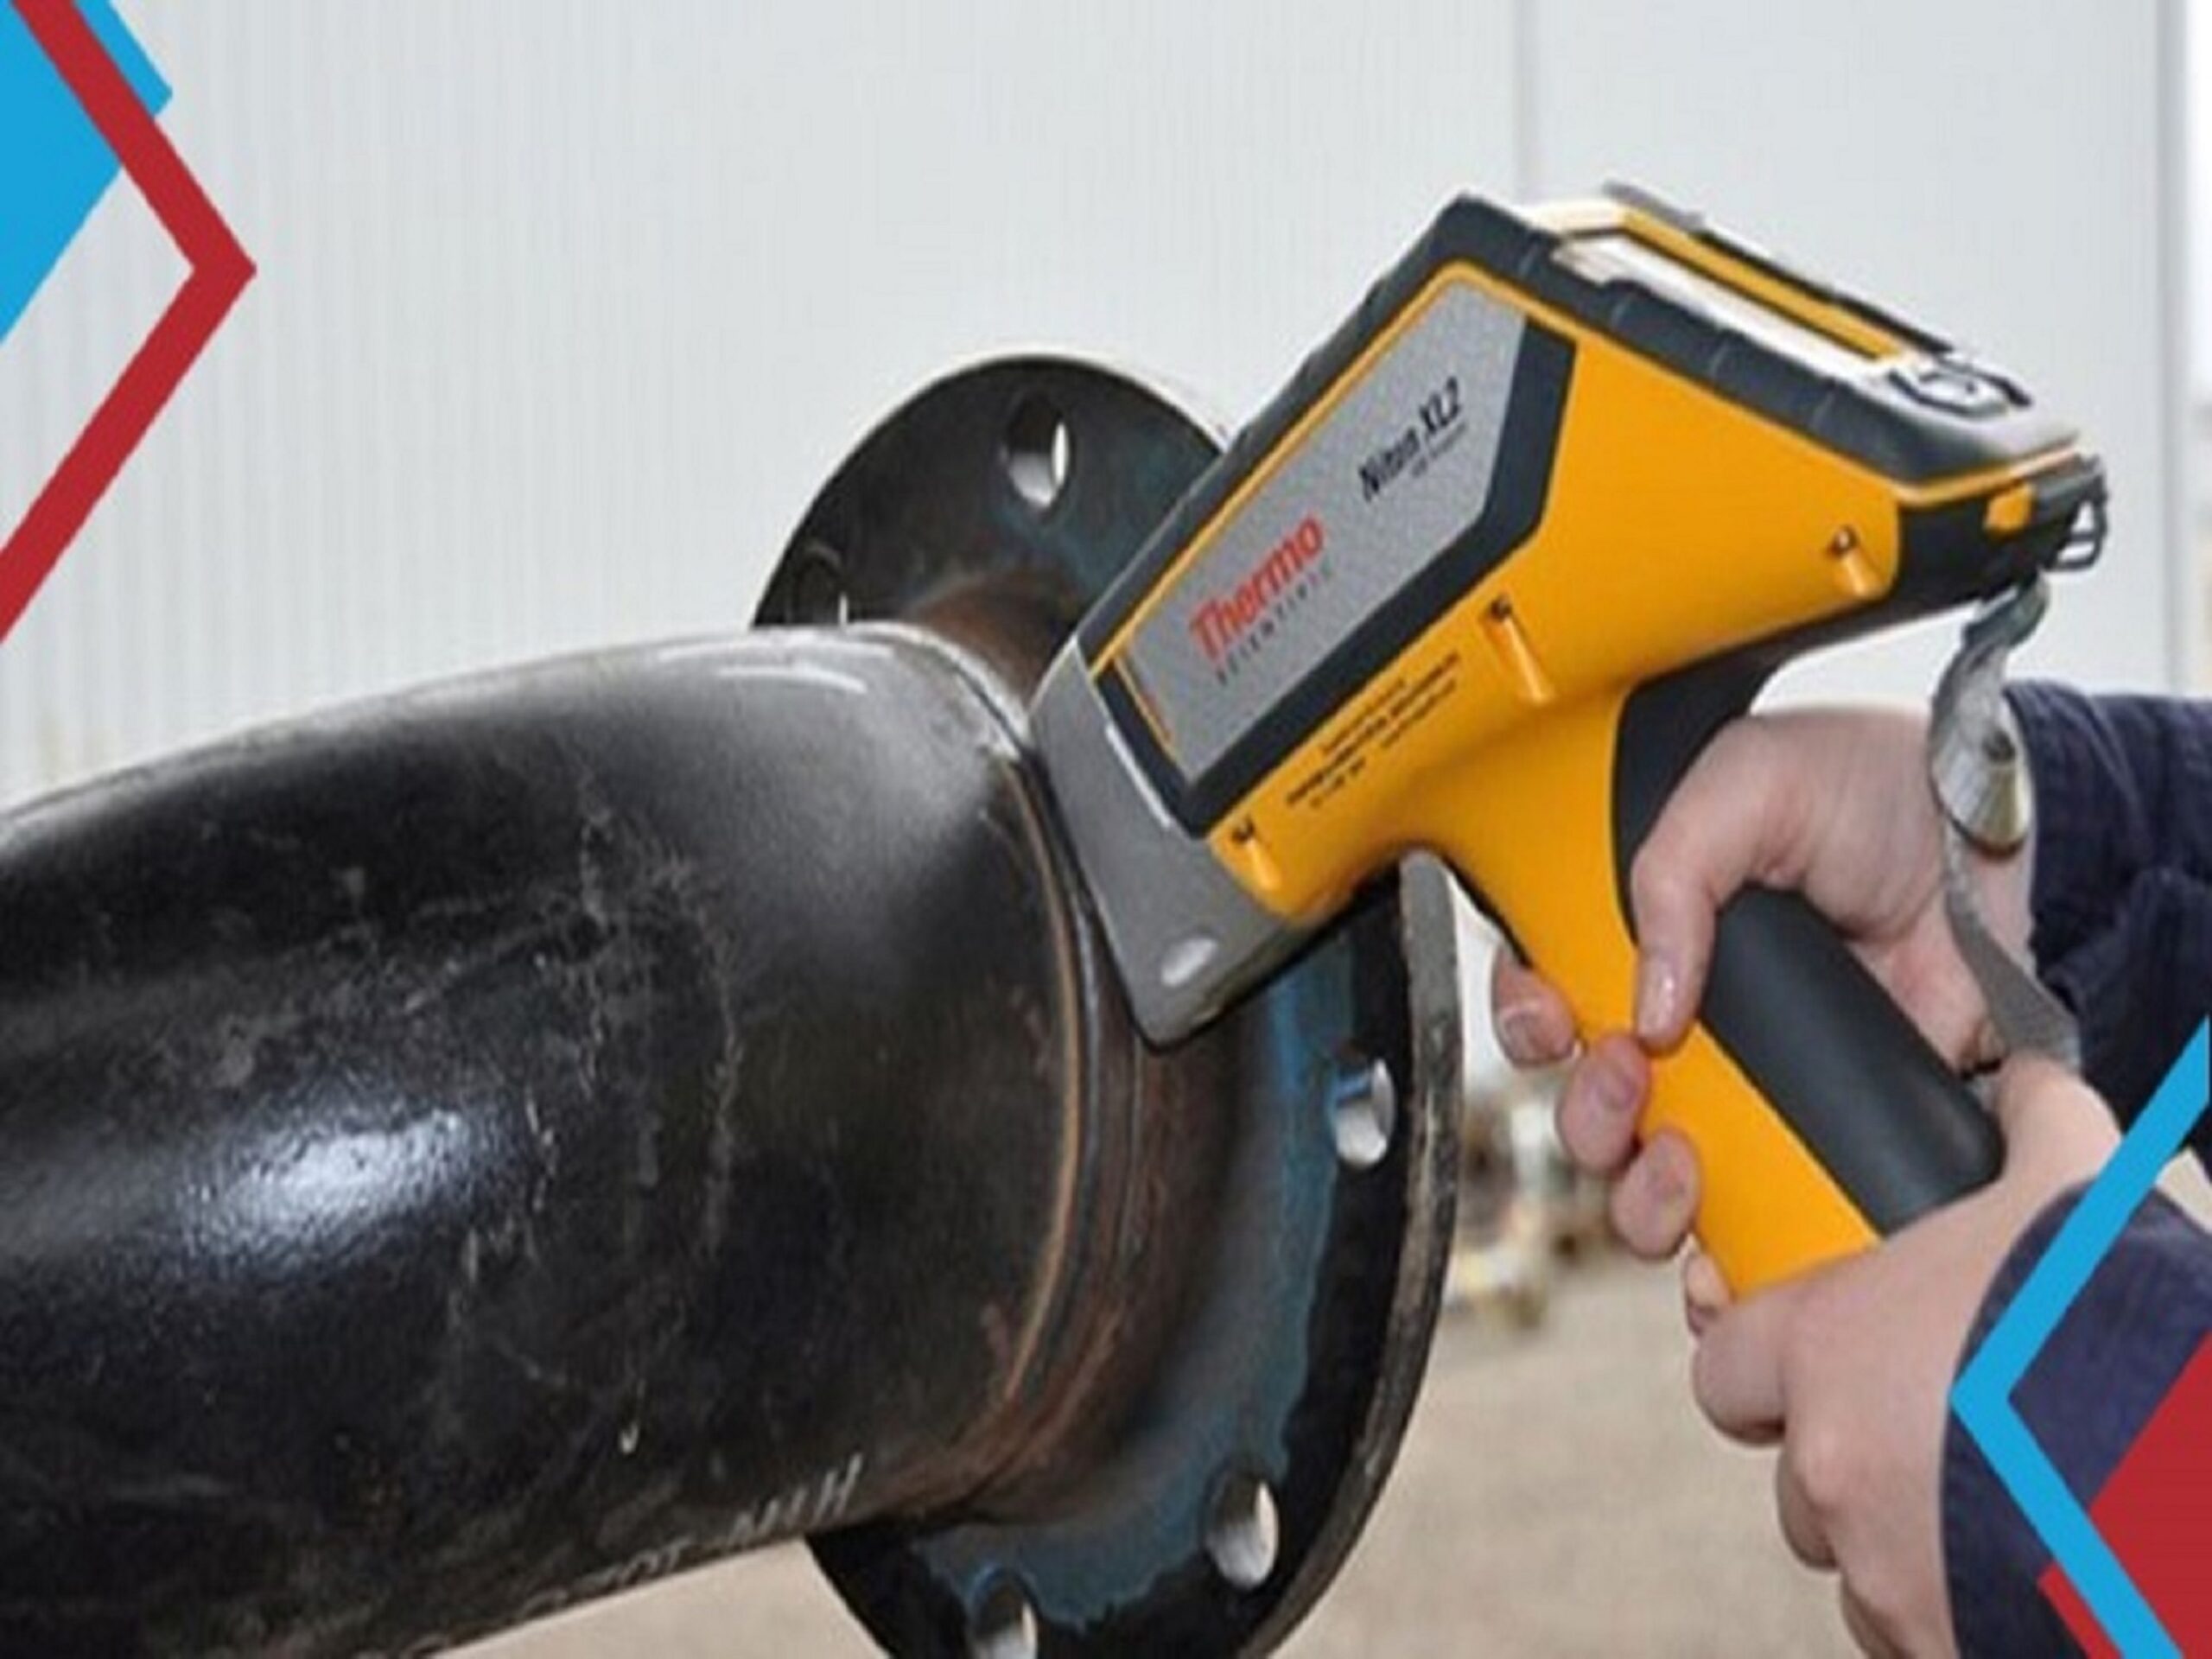
Positive material identification (PMI) is used to analyze and identify material grade and alloy composition for quality and safety control. A rapid, non-destructive method, positive material identification is performed on a wide range of components and assets, and provides a semi-quantitative chemical analysis. It is used for both material verification and identification. The method is utilized for quality control and safety compliance, and is an integral part of both production and asset integrity management across many industries including oil and gas, power, chemical, pharmaceutical, nuclear, aerospace and fabrication.
Positive material identification can prevent potential product failure in manufacturing. At oil and gas, power generation and pharmaceutical plants, pre-service and in-service inspection of critical components and welds with PMI can prevent breakdown and its costly consequences.
Time of Flight Diffraction TOFD Testing:
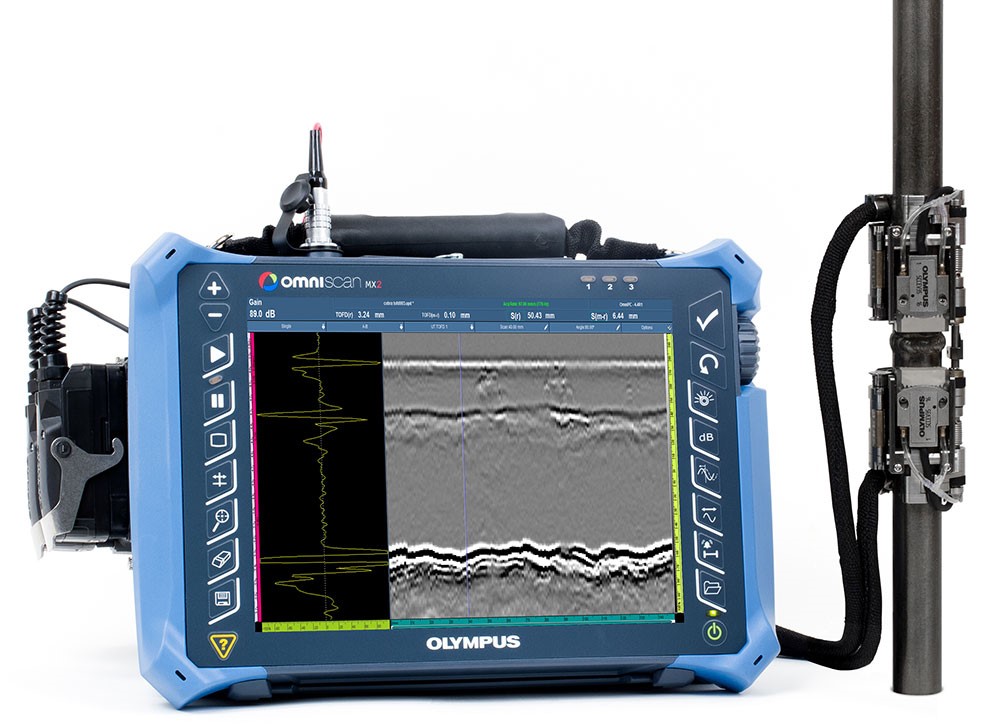

The article begins with an introduction of TOFD technique principles. The main part reviews some recent literature wherein excellent results for TOFD were obtained, especially regarding speed. The author gives examples of known problems when TOFD is used and recommends not discarding proven test methods in favor of the cost-saving factor of TOFD, however, TOFD can be a valuable add-on for other test methods.
Can TOFD perform all NDT tasks?
Does that mean that TOFD is a testing technique which can perform all NDT tasks?
In the author’s opinion the three most important drawbacks of TOFD are described herein:
a. Sensitivity level
The European pre-standard [3] points out that TOFD only evaluates the time of flight and not the amplitude of the diffracted echoes. If the instrument sensitivity (gain) is set on very low level, the TOFD image would display no diffracted echo. If the instrument sensitivity is set just above electronic noise level, the TOFD image will display a lot of diffracted echoes which are caused by very small inhomogeneities of the weld seam and does not mean that the weld is really bad. Also for the TOFD technique it is necessary to define a gain or an amplitude level because the performed test always demands acceptance criteria.
b. Crack size determination
The following case is described: A weld was tested during production according to AD-HP 5/3 with a sensitivity of detection of FBH 3 mm. That means that the weld possibly contains many inhomogeneities of FBH 1mm. In-service by use of the traditional angle beam testing can find a crack. The same crack can only be detected with a much higher gain setting if the TOFD technique is applied, since crack tip echoes respond with a very small amplitude in a range of FBH < 0,7 mm. In practice, diffracted echoes at crack tips are not so clear as they are displayed in Figs 4 and 5. Crack tip echoes are part of a noise area caused by other irrelevant diffracted echoes of inhomogeneity. That can make sizing with the TOFD technique impossible. A TOFD image inspector needs to perform depiction decisions similar to that used in radiography. He or she must distinguish the relevant echoes.
c. Detection of small cracks at backside
This is one of the main disadvantages of TOFD. For in-service inspection of welds it is usually not so important to find old defects inside the weld seam. More important is the detection of cracks at the backside of containers or piping. As an inspection example defects of 0.5 mm depth and app. 10 mm length must be tested at a pressure component or container of 30 mm wall thickness. The use of diffracted echoes is for that task is not possible. So close to the back wall the crack tip echo amplitude is very small. In that case traditional UT techniques with angle beam probes and use of the mirror effect must be applied. The TOFD technique is not applicable here!
Visual Testing (VT/VI):
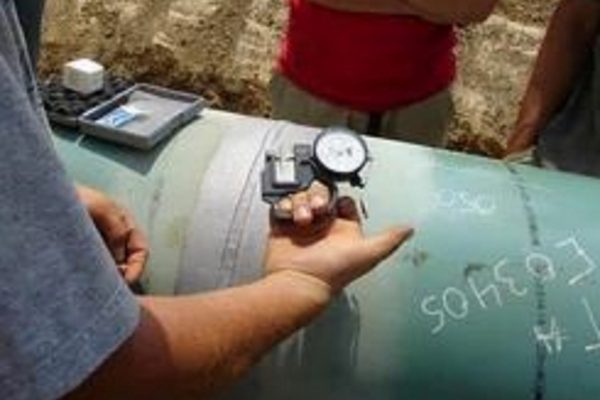
Visual inspection (VT) is arguably the oldest and most widely used NDT method there is. craftsmen have used their eyes to determine the quality of the products they made. In essence, this is still the case with visual inspection. This method involves the visual observation of the surface of a test object to evaluate the presence of surface discontinuities such as corrosion, misalignment of parts, physical damage and cracks. Visual testing can be done by looking at the test piece directly, or by using optical instruments such as magnifying glasses, mirrors, borescopes and computer-assisted viewing systems. VT can be applied to inspect castings, forgings, machined components and welds and is used in all branches of industry.
VT Advantages:
- Low cost
- Portable equipment (if any)
- Immediate results
- Minimum special skills required
- Minimum part preparation
VT Limitations:
- Only suitable for surfaces than can be viewed
- Usually only larger defects can be detected
- Scratches can be misinterpreted for cracks
- Quality of inspection influenced by surface condition, physical conditions, environmental factors and physiological factors
Our Credentials
XPERT NDT & PWHT SERVICES LIMITED
Patwary Villa, 700, Nurbug Sorai Mosque Road, Donia, Jatrabari,
Dhaka-1236, Bangladesh.

